
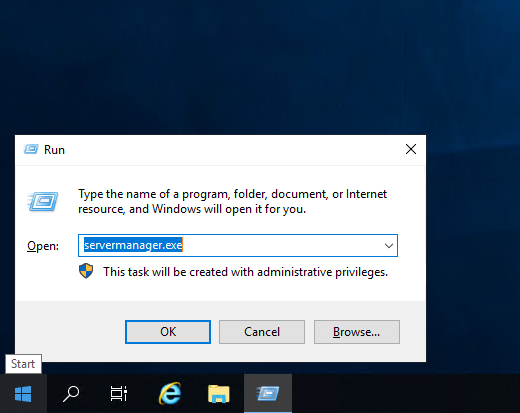
To start the installation, launch the Server Manager. This can be done using the servermanager.exe command in the Run window.
Press the key combination Win + R and in the Run window that appears, write servermanager.exe and click OK.
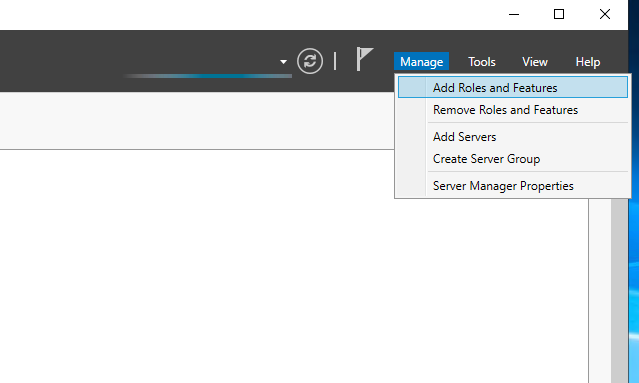
Now select Manage from the menu and click Add Roles and Features.
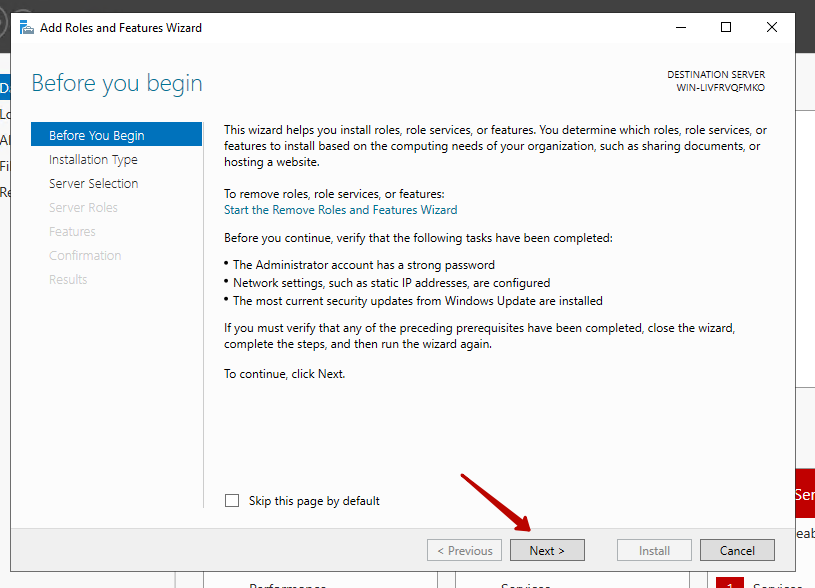
Next, after launching the Add Roles and Features Wizard, click Next.
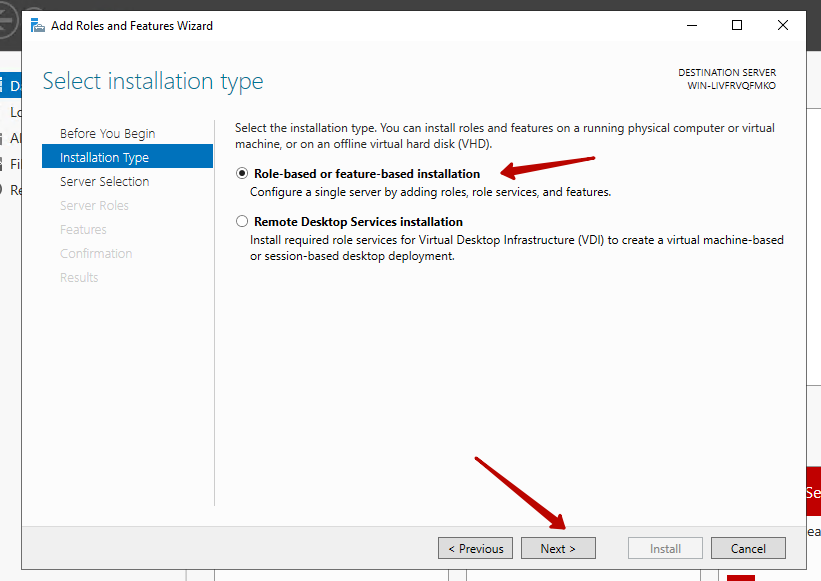
Select / leave on Role-based or features-based installation and click Next.
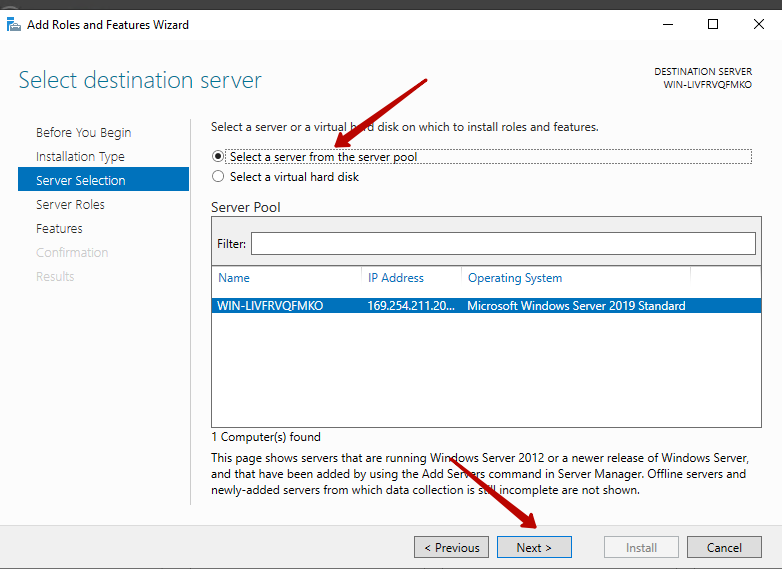
Check the box, if not, Select a server from the server pool and in the Server pool window, select the desired server, and click Next.
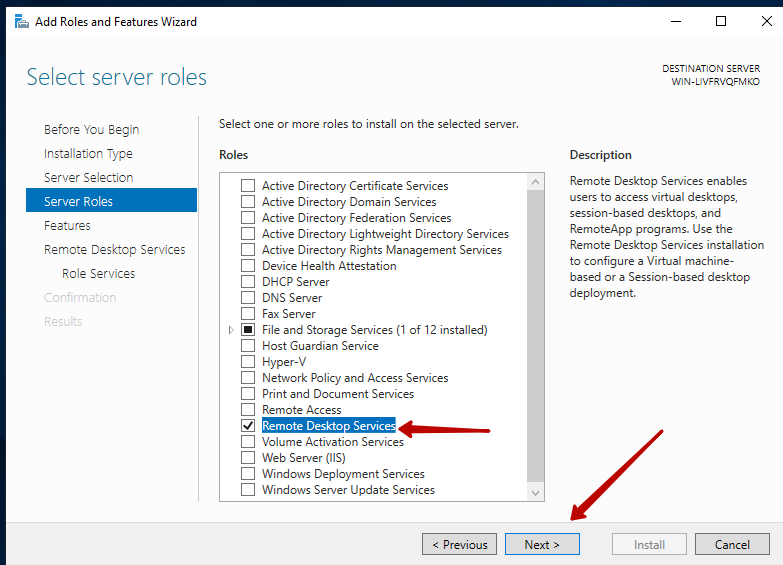
In the Server Roles item, check the Remote Desktop Services checkbox and click Next.
In the Features item, do not mark anything, and click Next and Next again.

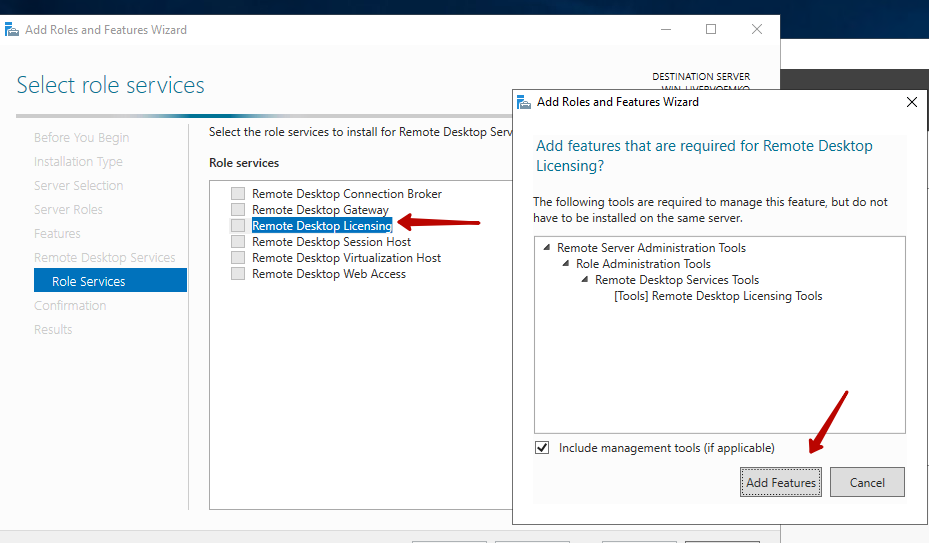
In the Role Services section, select the role services that we want to install. Remote Desktop Licensing and in the additional window click Add Features.
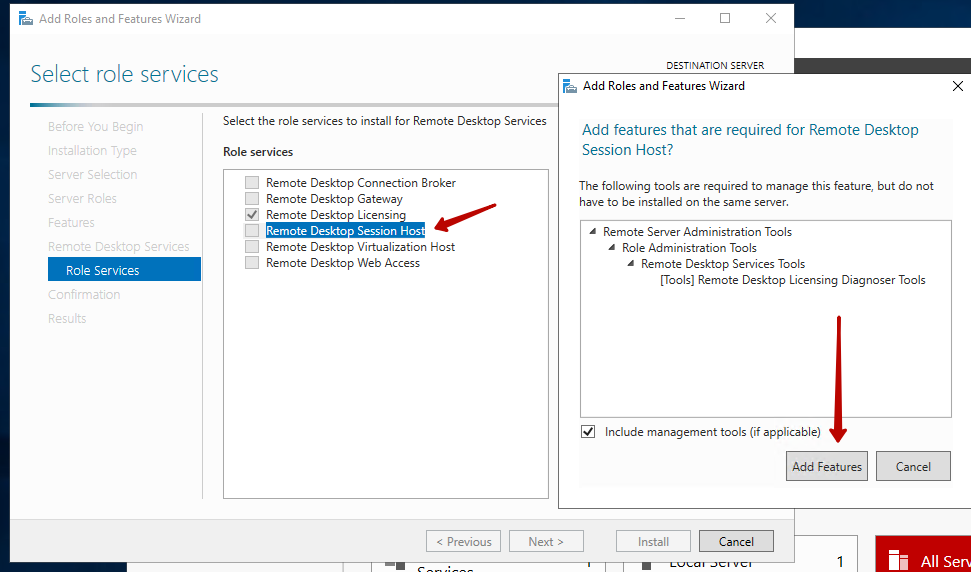
We also mark Remote Desktop Session Host, click Add Features and then click Next.
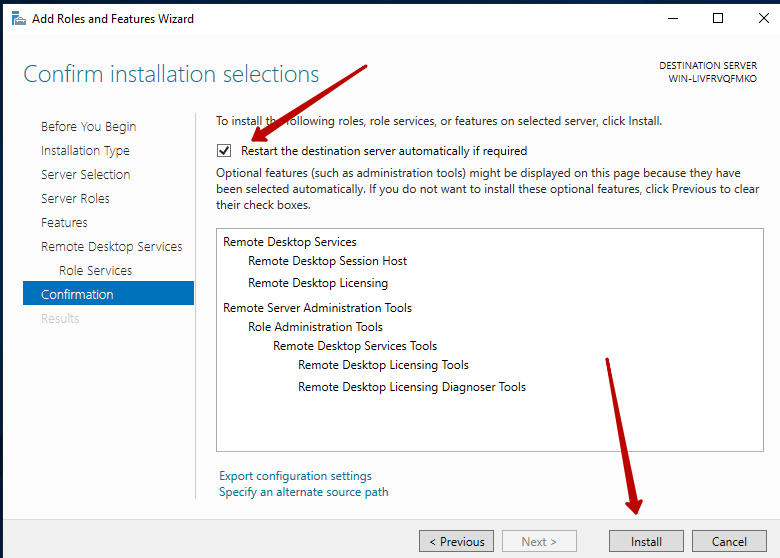
Check the box, Restart the destination server automatically if required if you need to restart immediately after installing add-ons. And click Install.
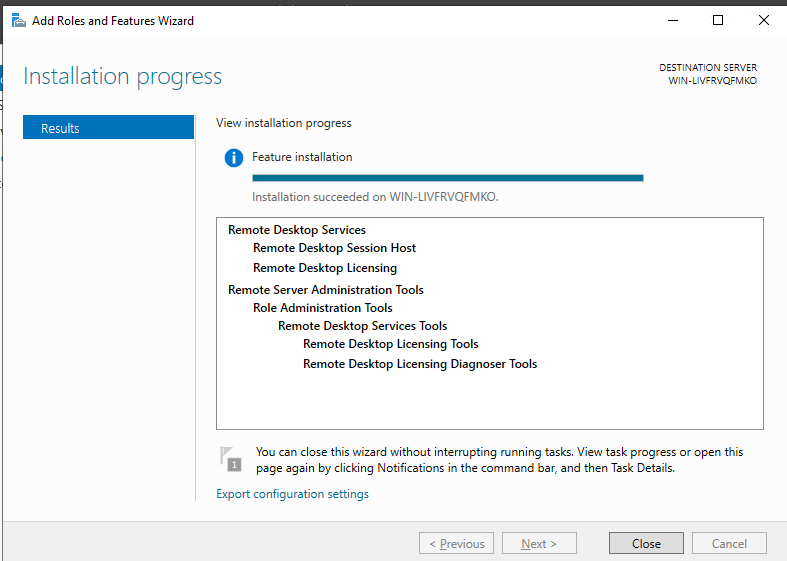
After restarting the server, we can observe a message about the successful installation.
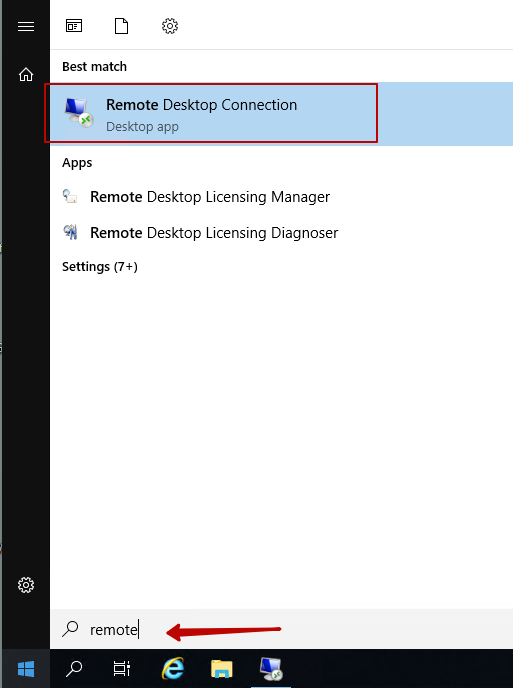
Now we need to set up / throw the microphone from our personal computer or laptop.
To do this, on your computer / laptop, open the Remote Desktop Connection application and configure it as follows.
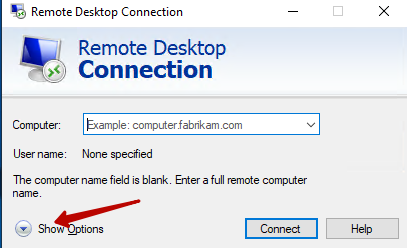
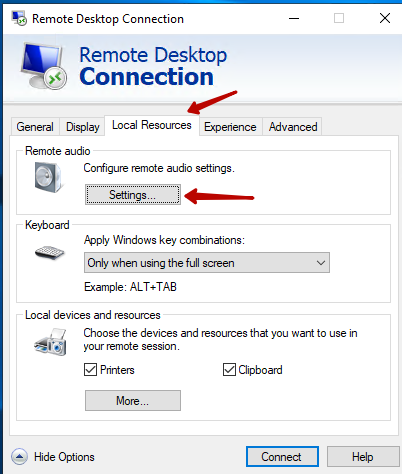
Click Show Options
And go to the Local Resources tab and click Settings.
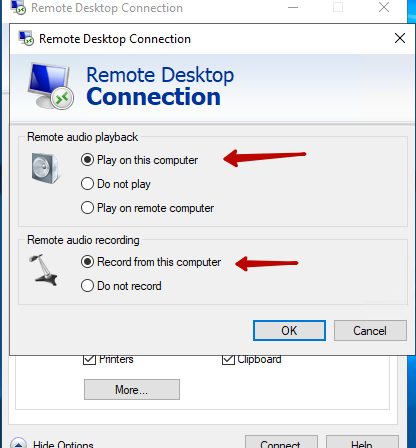
In the Remote Audio Recording item, check the Record from this computer checkbox.
Now you can connect to your virtual server and check the microphone settings. To do this, you can use the standard tools of Windows OS, or third-party online services.
You can learn how to connect sound on the server from this article.