The easiest way to install updates is via Windows Update center.
For all versions of Windows Server, the procedure for installing updates is almost the same, with the exception of minimal differences.
Installing updates on Windows Server 2012 R2
To get to Windows Update center, you need to click on the Start Menu button in the left bottom corner of the desktop and follow the path:
Start Menu -> Control Panel -> System and Security -> Windows Update
Or you can enter the Start Menu, enter the text "update" in the searching field, you will see Windows Update in the list of found programs, click on this option to go to Windows Update center.
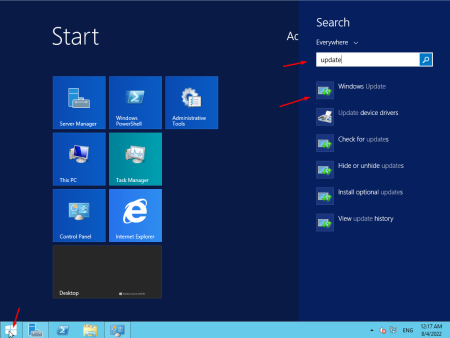
You can also get to Windows Update center via the Powershell command line by typing the command "control update" and confirming the entry with the Enter button

In Windows Update center, click the Check for updates button:
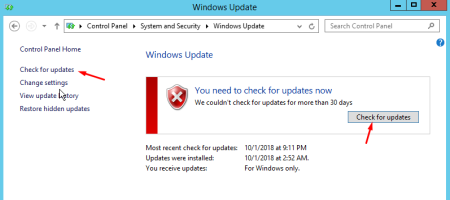
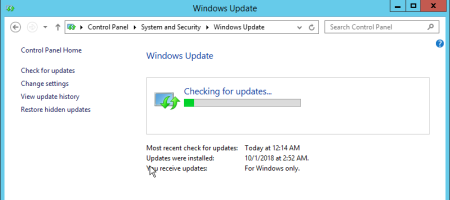
After the search is completed, you will see that important and optional update packages have been found, click the Install updates button to proceed installing them:
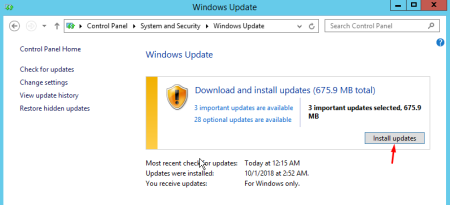
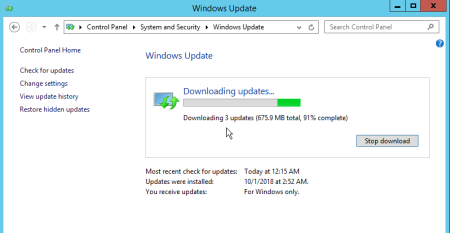
After the update packages have been downloaded and installed, you will see a message about a successful update, if you will see a button asking you to reboot the system, press it to apply the new configuration (after clicking the button, the system will restart, all programs will stop, remote desktop communication will become unavailable, so be sure to save all your files and unfinished settings/programs before pressing the button).
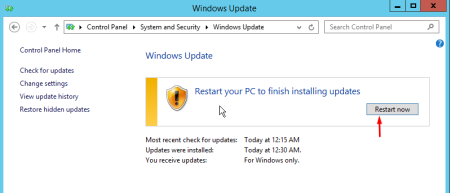
When ready, click the Restart now button:
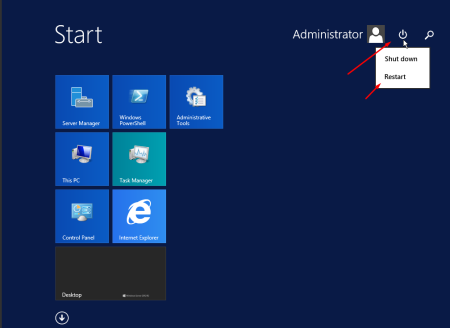
The system can also be restarted from the Start menu:
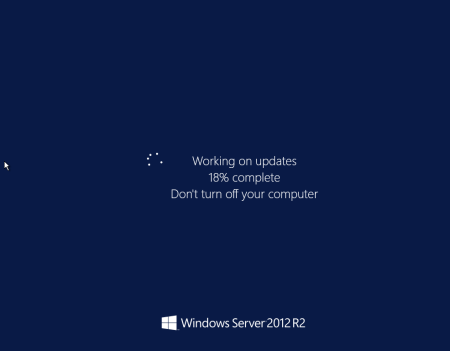
Next, the shutdown and installation of new components will begin, sometimes it may take a few minutes, but sometimes it may take half an hour, so your server may be unavailable for connection for some time, wait 5-30 minutes and then try to connect to the server via Remote desktop. (You can also monitor system booting process on our servers using VNC/IPMI console)
Updates installed.
It is recommended to repeat the update installation procedure and restart the system again, since not all updates are installed from the first try, some of them become available only after the previous ones are installed.
Installing updates on Windows Server 2016 and Windows Server 2019
The procedure is the same as for Windows Server 2012 (see above in this article), so I won’t describe the process in detail, i’ll just attach a few screenshots, since the graphical interface is different from Windows Server 2012
To get to Windows Update center, you need to click on the Start Menu button in the left bottom corner of the desktop and follow the path:
Start Menu -> Settings button -> Update and Security -> Windows Update
Or search via the Start menu, then click on the "Windows Update settings" option:
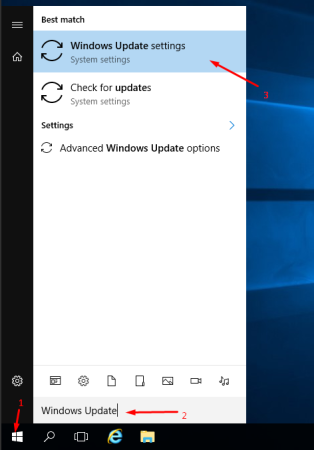
Check for updates:
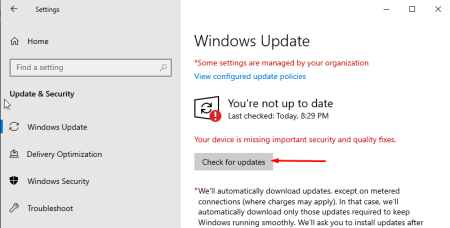
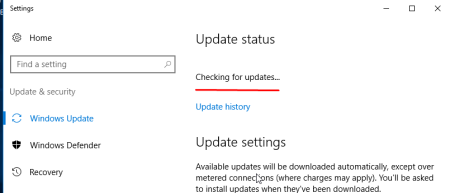
Downloading and further installation of updates:
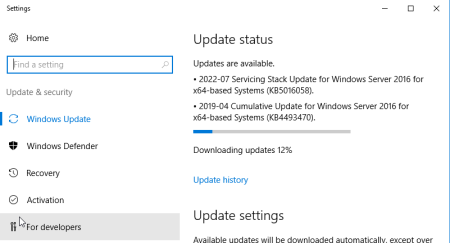
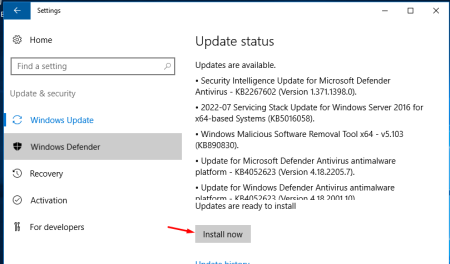
Reboot the system after installation is complete:
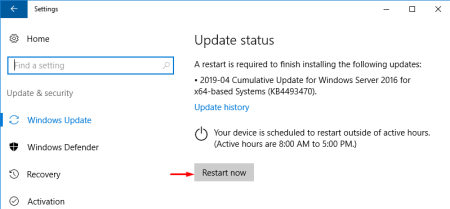
The system will restart and and connection to the server via remote desktop will be lost for the duration of the restarting.
Wait until the server becomes available for connection again, approximate time: 5-30 minutes. (You can always monitor the system booting process on our servers using VNC/IPMI console.)
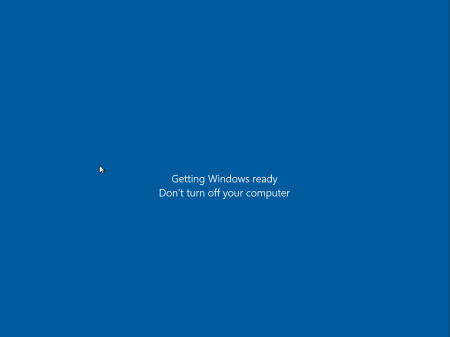
It is recommended to repeat the entire procedure, since many updates become available only after installing the previous ones.
However, please note that it is not recommended to install all the updates in Windows Server 2016-2019 on servers with a disk size of 20 GB or less, as the updates are large and can take up all available space.

