
But when several users need to work on the server, and at the same time, then you need to add an additional user, or users. Also, in this case, it is necessary to take into account that a terminal server is installed on the server, and the required number of licenses for an RDP connection. How to install and configure a terminal server, you can see in this article.
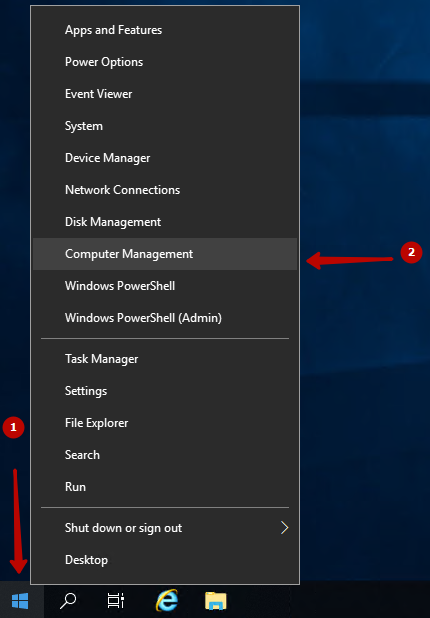
To add a second user, connect to the server with your Administrator credentials. Then go to Computer Management. This can be done by right-clicking on the Start menu and selecting Computer Management from the context menu.
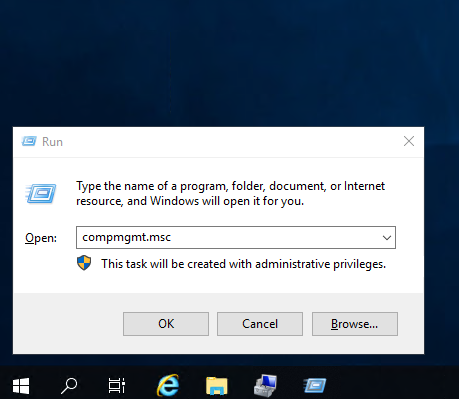
Or press the Win + R combination and in the Run window type compmgmt.msc and click OK.
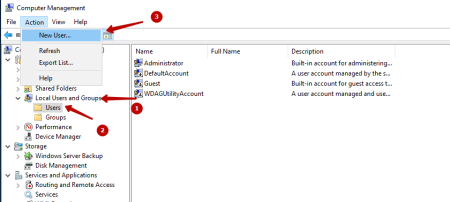
Now in the Computer Management window, go to Users and Groups => Users and select New User from the top Action menu.
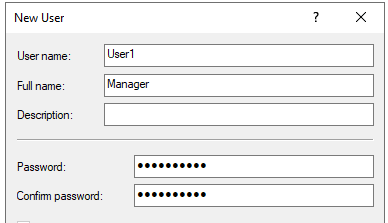
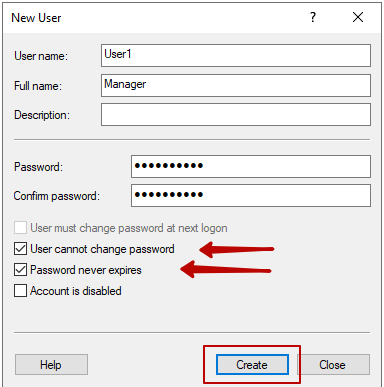
In the New User window that opens, you must enter the username in the User Name column that you will use to log into the server. In the Full Name item, you can enter the full name that will be visible on the welcome screen. You can leave nothing in the Description field.
In the Password and password confirmation field, enter the password that you will use for this user.
You can clear the User must change password at next logon checkbox if you do not need to change the password when the user first connects.
We leave the User cannot change password checkbox so that the user cannot change the password.
Leave the Password never expires checkbox the same if there is no need to change the password. Account is disabled Enables/disables the user's ability to connect/login to the server. We uncheck the box.
To create a user, click Create.
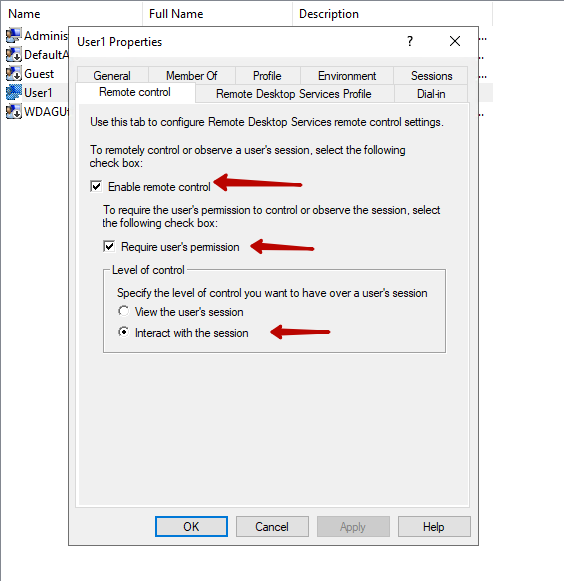
Now for the created user, you must provide the necessary rights to connect to the server. To do this, right-click and select Properties.

To allow the created user access via RDP to this server, on the Remote control tab, you must set the appropriate permissions, as shown in the illustration below.
But in order to give the user Administrator rights, he must be added to the appropriate group. On the Member of tab
click Add… and select Advanced… in the group selection window, then the Find Now button in the group selection window. Select the Administrators group and click OK.

Now, in the same way, you can create the required number of users on your server.
The same actions, only through Power Shell
Let's create user User2, with description Manager and password QWErty1! (Don't create such easy passwords!!!)
$PASSWORD= ConvertTo-SecureString –AsPlainText -Force -String QWErty1!; New-LocalUser -Name "User2" -Description "Manager" -Password $PASSWORDAccordingly, instead of User2, use your username, and a password of at least 12 characters.
Now let's add this user to the group we need.
Add-LocalGroupMember -Group "Remote Desktop Users" -Member "User2"To the Remote Desktop Users group
To add to the Administrators group, use the following command:
Add-LocalGroupMember -Group "Administrators" -Member "User2"