
Server logs are an essential administrator tool for monitoring server activity. A Centos 7 system has a built-in systemd log tool for logging events that occur on the system. In this article, we will look at how to view Centos 7 server visit logs and how to filter them by time, IP address, etc.
Step 1: Open the magazine
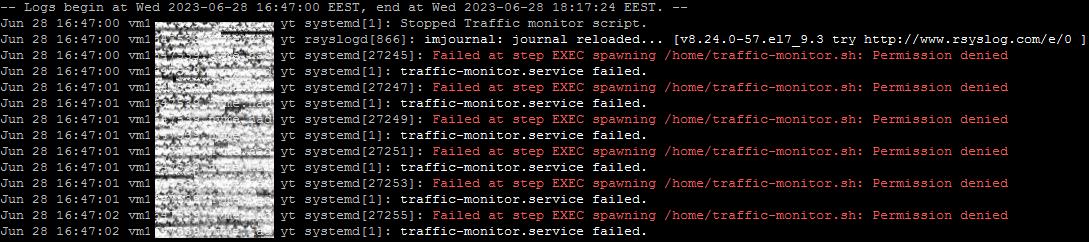
The first step is to open a log that contains information about the visit to the server. Centos 7 uses the journalctl utility to work with the journal. To open the log, you need to run the following command:
journalctl

This command will open the log and show the latest entries. To see more entries, you can use the -n switch, which specifies the number of entries to show. For example, to show the last 100 entries, you would use the following command:
journalctl -n 100

Step 2: Log Filtering
Various keys can be used to filter the log by a specific IP address or time interval.
Filtering by IP address:
To filter the log by IP address, you must use the -a switch, which specifies the IP address to filter by. For example, to filter the log on the IP address 192.168.1.100, you would use the following command:
journalctl -a _SYSTEMD_UNIT=httpd.service _COMM=httpd | grep '192.168.1.100'
This command will filter the log by IP address 192.168.1.100 and show only entries containing that IP address.
Filtering by time:
To filter the log by time interval, you can use the -S switch, which specifies the start time, and the -U switch, which specifies the end time. For example, to filter the log for the last 24 hours, you would use the following command:
journalctl --since "yesterday" --until "now"
Step 3: Display the log in real time
To monitor the log in real time, you can use the -f switch, which displays new log entries as they appear. For example, to monitor the server visit log in real time, you would use the following command:
journalctl -f
This command displays new entries in the log as they appear and allows you to quickly respond to problems in the system.
Filtering by time:
To filter the log by time interval, you can use the -S switch, which specifies the start time, and the -U switch, which specifies the end time. For example, to filter the log for the last 24 hours, you would use the following command:
journalctl --since "yesterday" --until "now"
You can filter logs starting at a specific time or within a specific period of time using the -S (from the beginning) and -U (to the end) options.
For example, to view the logs from 10 am March 2, 2023, you can use the command:
journalctl -S "2023-03-02 10:00:00"
Or, to view the logs for a specific period of time, you can use the command:
journalctl -S "2023-03-02 10:00:00" -U "2023-03-02 12:00:00"
By severity: You can filter the logs by priority using the -p or --priority option.
For example, to display all messages with a severity level of "error" or higher, you can use the command:
journalctl -p err

By process ID (PID): You can filter logs by process ID (PID) using the _PID option.
For example, to display all messages from a process with PID 1234, you can use the command:
journalctl _PID=1234
By user or group: You can filter logs by user ID (UID) or group ID (GID) using the _UID and _GID options respectively.
For example, to display all messages from a user with UID 1000, you can use the command:
journalctl _UID=1000
Step 4: Export the log
To export the log to a file, you can use the -o switch, which specifies the export format and file path. For example, to export a log in CSV format to the /var/log/access_log.csv file, use the following command:
journalctl -o csv > /var/log/access_log.csv
This command exports the log in CSV format and writes it to the /var/log/access_log.csv file.

Step 5: Deleting Old Recordings
Server logs can take up a large amount of disk space over time. To clear the log and remove old entries, you can use the -vacuum-size switch, which removes entries so that the total log size does not exceed the specified size. For example, to remove log entries so that the log size does not exceed 1 GB, you would use the following command:
journalctl --vacuum-size=1G

This command will delete the old entries in the log so that its size does not exceed 1 GB.
Conclusion
In this article, we have covered how to view Centos 7 server visit logs and how to filter them by time, IP address and other parameters. We also looked at how to display the log in real time, export it to a file, and delete old entries. Server logs are an important tool for monitoring server activity, and knowing how to view and filter them will help administrators quickly respond to system problems.