If you want to change the password for the root user to the VMware ESXi panel, then this can be done in several ways.
For example, if you know the current password, you can simply change it in the ESXi control panel itself,
and if you forgot the password, but you have the vCenter control panel available, then the password for this host can be changed in the vCenter web panel.
In earlier versions (before 4.x) it was possible to change the password through the GRUB bootloader.
This is all clear, but what if you have installed only standalone VMware ESXi hypervisor on a dedicated server and you forgot the password for the root user?
After all, without the ability to log into the control panel as a superuser,
you lose the ability to manage your virtual machines, disks, network and everything else, and at current moment, VMware, strangely enough, does not offer password recovery tools in this situation.
On the official VMware forums is written that in this case, you need to reinstall the server and hypervisor,
which will wipe out all the data on it. That is clearly not an ideal solution.
Fortunately, we can use the "hack" that I will show below, such operation can be quite dangerous, so do this operation at your own risk.
Also note that to perform the operation, you will need to shut down the server, which will stop all machines and services on it for the period of doing changes.
This solution is suitable for ESXi versions 5-6 and probably for 7-8 too, I will be using version 6.7 in this example.
1. First you will need to connect the LiveCD ISO to a dedicated server.
I am attaching detailed guide on how to connect your ISO image to a dedicated server.
https://zomro.com/blog/faq/234-kak-podkljuchit-svoj-obraz-iso-k-vydelennomu-serveru
I will be using SystemRescueCD which can be downloaded from here:
https://www.system-rescue.org/Download/
2. Now we need to find the file on the server's disk that stores the password for the root user.
After the disk is connected, the server is rebooted and booted from the LiveCD, you need to enter the console or terminal, depending on your choice of LiveCD.
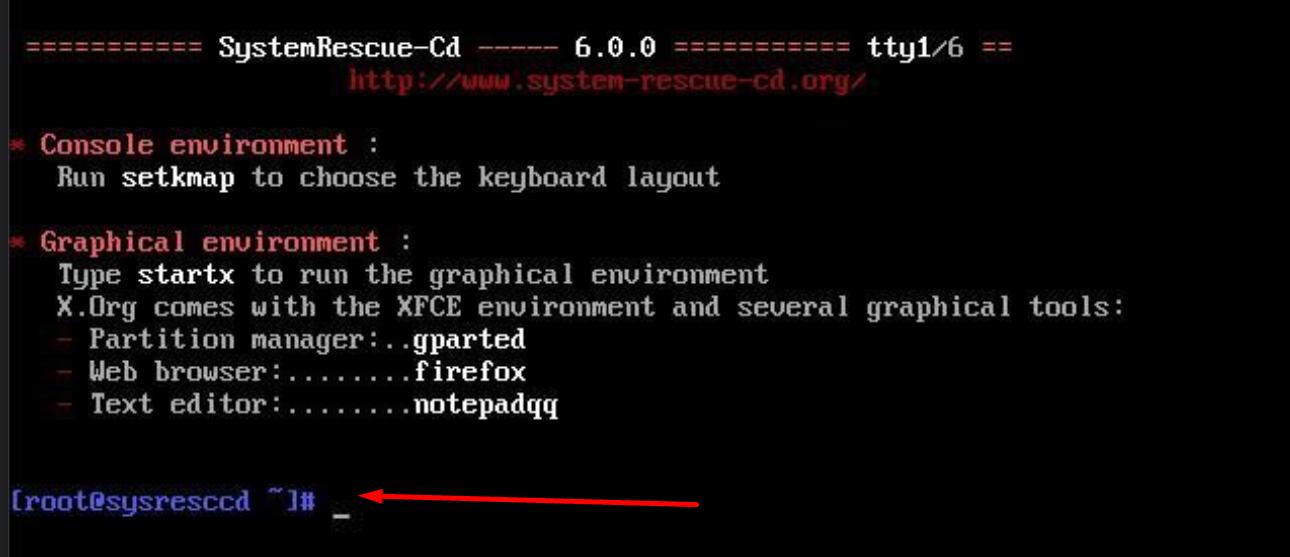
In SystemRescueCD I chose the first option Boot SystemRescueCD with default options
after which, after a while, the console has been loaded, in which we can enter commands.

3. You need to find the partition on which the hypervisor configuration and boot modules are stored, for this we enter the command:
lsblk -lp
You should see a similar picture as in the screenshot below:

Such partition is /dev/sda5 (Boot-bank 0)
You can read more about the hypervisor's system storage layout here:
4. Let's mount this partition to the /mnt folder of our LiveCD with the command:
mount /dev/sda5 /mnt
5. Check if the state.tgz file exists:
ls /mnt/state.tgz
Should show that such file is found:

Now let's create a temporary folder where we will unpack and edit the file.
mkdir /new
Go to the newly created folder:
cd /new
Unpack the archive into it:
tar -xf /mnt/state.tgz -C /new/
Now another archive should appear in the /new folder, let's unpack it too:
tar -xf local.tgz
If everything is done correctly, then the folder should contain the etc folder and the local.tgz archive, as in the screenshot below:

We no longer need the local.tgz archive, delete it:
rm local.tgz
6. Now look for the shadow file in the etc folder and open it with the vim text editor:
vi etc/shadow
On how to use the vim text editor, we have a nice article here:
https://zomro.com/blog/faq/204-redaktor-vim
Inside the file, there should be something like in the screenshot below. As you can see, there is a long strange gibberish in the row of root user,
this is our password, it looks like this because it is stored in encrypted form.

We can remove this hash code (everything between the first 2 semicolons), which will cause the root user to have no password, resulting in the following:

If you do not want to leave the input without a password, then you can, for example, we can replace this hash with another
$6$q6uSw7nb/XO9hwSx$VDecNPTdNHdgDIKnVEMZggB0ooLzjWX22IuCAPkr06tVELOHdCiHsh.MjpSxmxqC7XTHUl4bOWTv5cPNZ0cxi0
This is how encrypted password 1234VMesxi looks.
Then we save the file (in the vim editor enter :wq)
7. Now we need to repack it all and return the archive to where we got it from, run the following commands one by one:
cd /new

tar -czf local.tgz etc

tar -czf state.tgz local.tgz

mv state.tgz /mnt/

chmod 755 /mnt/state.tgz
8. Unmount the disk /dev/sda5 now.
umount /mnt
9. Reboot the system, disconnect the LiveCD from the server and boot from the server's disk.
reboot
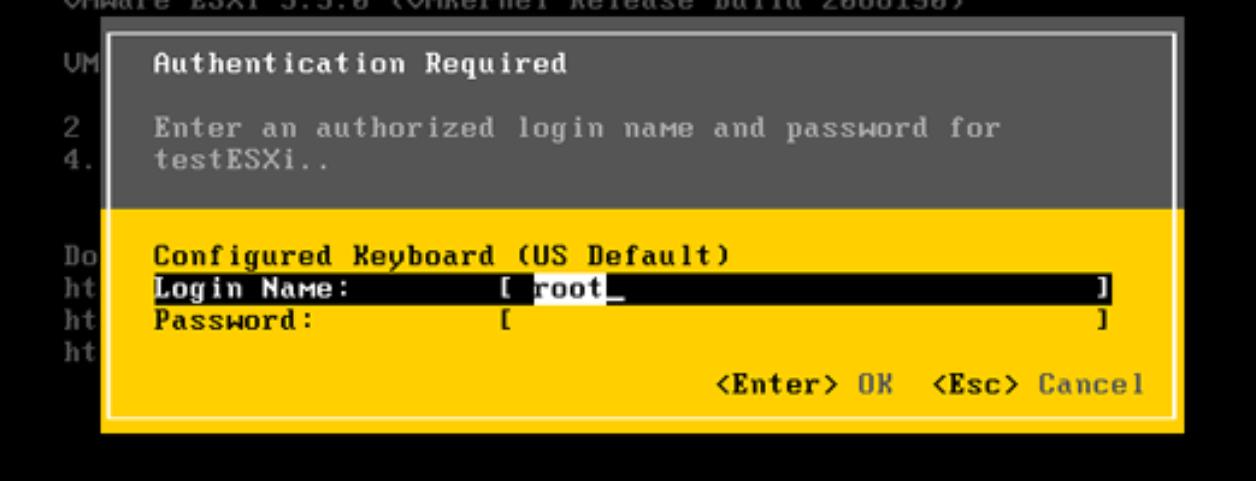
10. When entering the ESXi panel via the console, press the F2 button and now it should start up without a password, if you previously deleted the hash in the file.
If you replaced the password with the hash that is written above, then you need to enter this password: 1234VMesxi

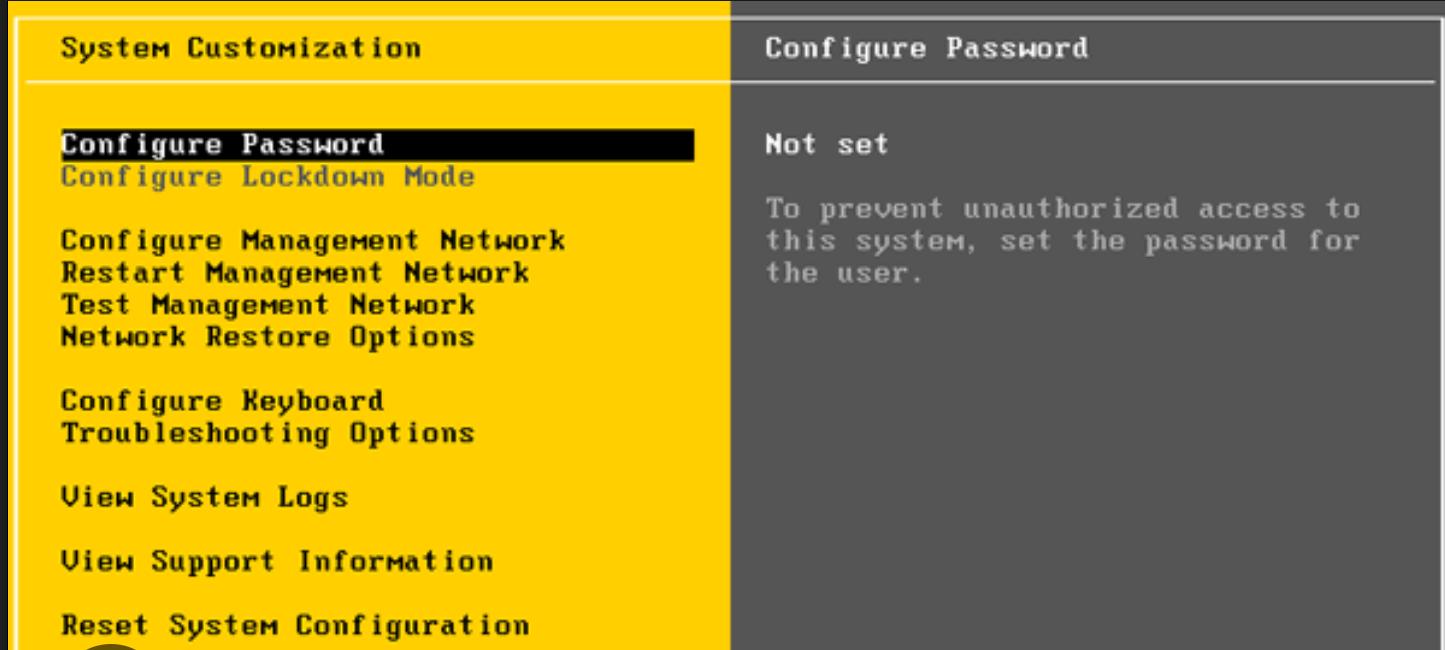
Next, MAKE SURE to change the password to a new one, for this we select the Configure Password option:

Leave the Old Password field empty or enter the password 1234VMesxi, depending on what was done earlier and then enter the new password 2 times:

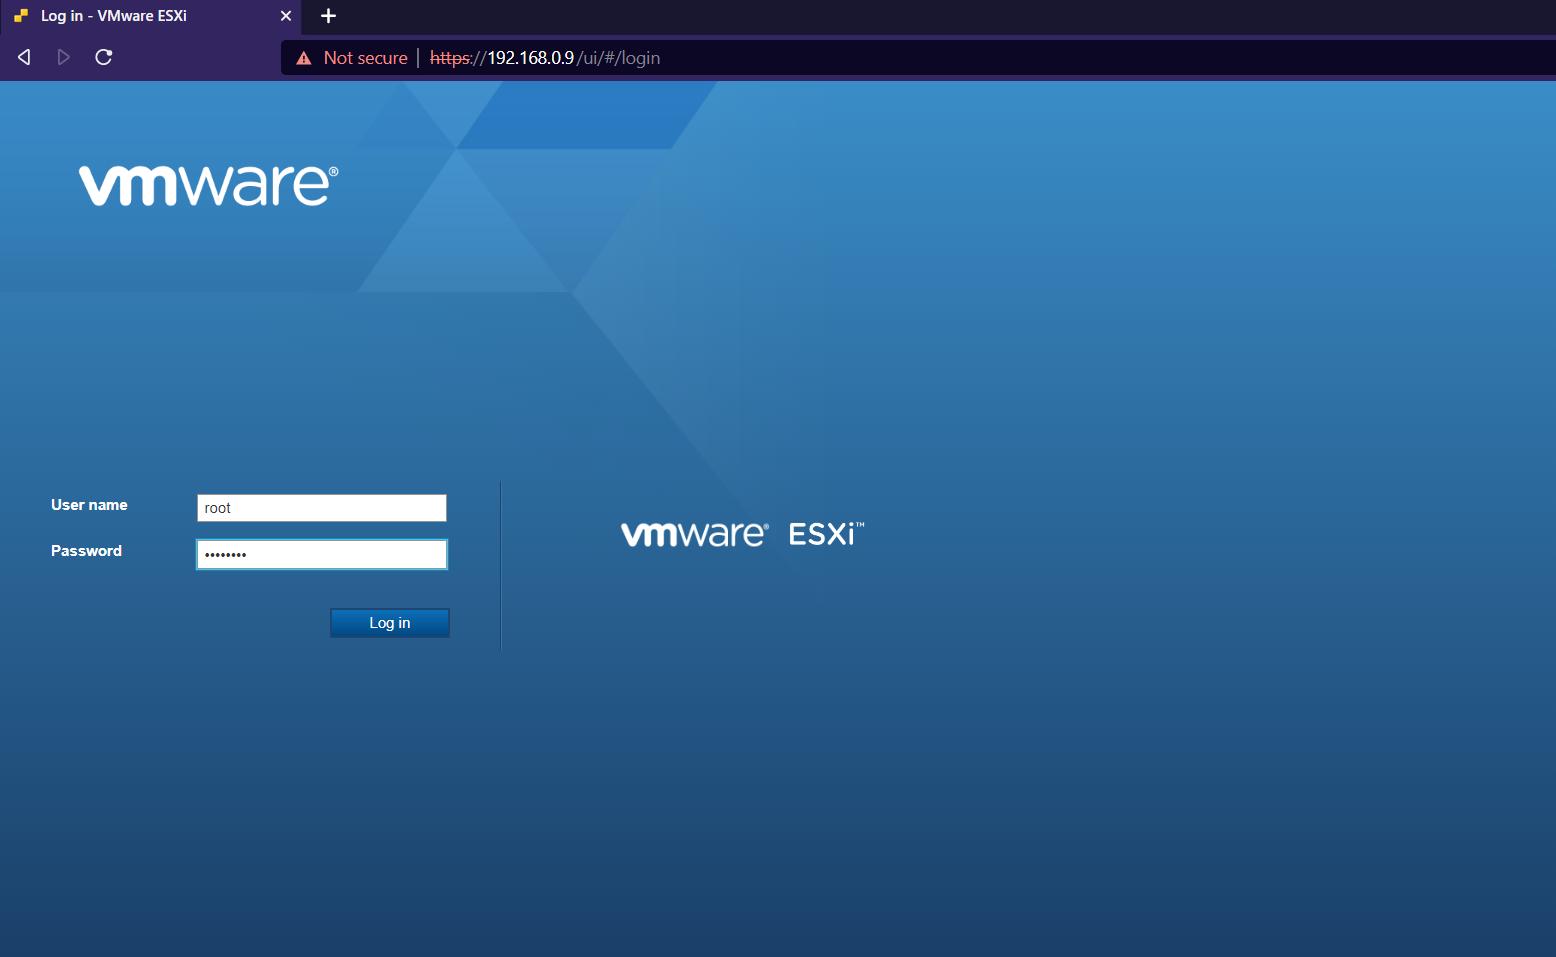
The password has been successfully changed to a new one and now you can enter the panel using a web browser.


