Use audio transmission for business purposes, as the sound quality and speed are mediocre.
First, let's enable the sound service on our VPS server. Because by default in the Windows Server operating system template, this service is disabled. You can enable it in several ways, through the graphical interface or through the command line. Let's consider both.
Set up via a graphical interface.
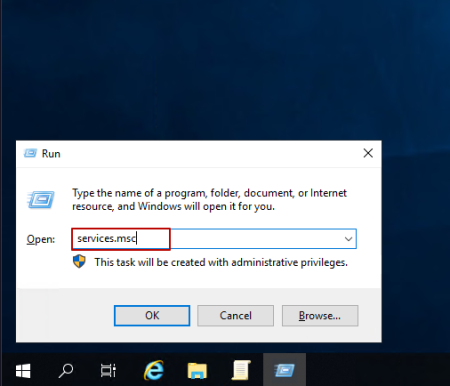
To launch the Services window (snap), press the Win+R key combination and type sevrices.msc.
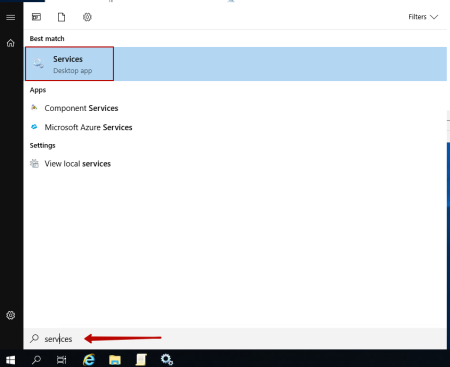
Alternatively, press the Start key and start typing sevrices and click on the sevrices service that pops up.
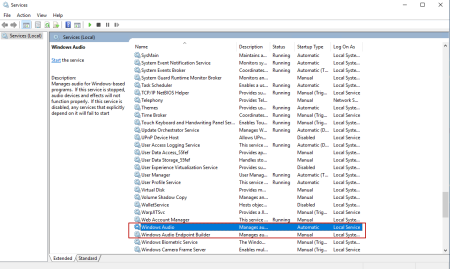
In the list of services, find Windows Audio and Windows Audio Endpoint Bulder. Double-click on this service, or by right-clicking on it, go to Properties.
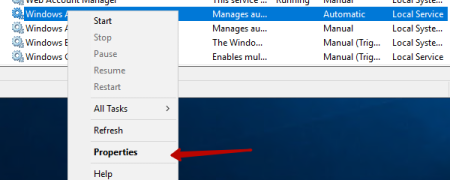
In the window that appears, select the Automatic startup type and after that you can start this service with the Start button. Then click Apply.
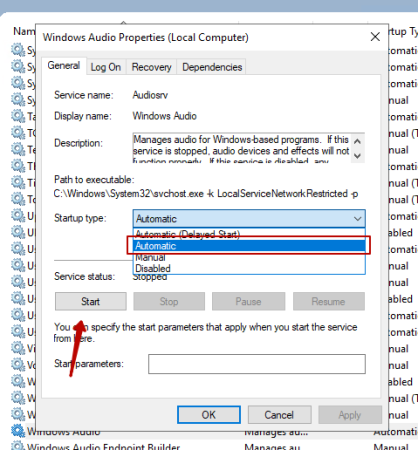
Also double-click on the Windows Audio Endpoint Bulder service, or right-click, go to Properties. In the window that appears, select the Automatic startup type and after that you can start this service with the Start button. Then click Apply.
To configure the sound through the command line, press the key combination Win + R and type cmd.
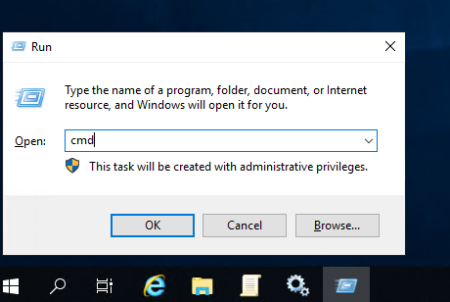
In the command line window, enter:
sc config audiosrv start= auto and press Enter.
sc config audioendpointbuilder start= auto and press Enter.
Now, after enabling the service, you need to configure audio transmission in the RDP client on your computer. Now you need to log out, just log out, and not close the connection.
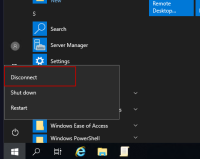
Now let's configure the RDP client.
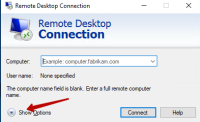
To do this, open the Remote Desktop Connection application and configure it as follows.
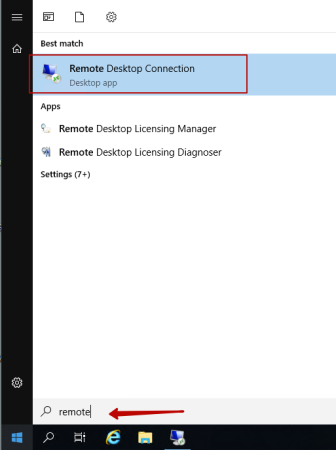
Click Show Options
And go to the Local Resources tab and click Settings.
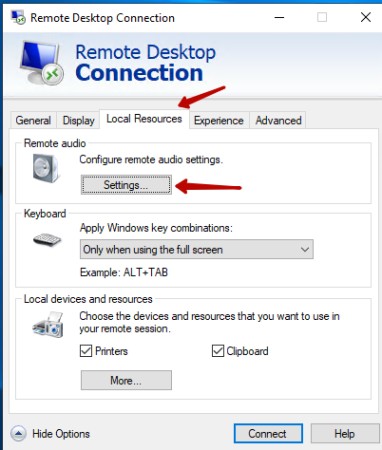
In the Remote Audio Playback item, check the Play on this computer checkbox. And in the Remote Audio Recording item, check the Record from this computer checkbox.
eleven
Now you can connect to your server and check the sound settings.

