
In this article, we will look at how to install it in a Docker container using docker-compose as well.
Let's install Docker.
But first, you need to update the OS packages.
apt update
Install the necessary packages and add a new repository:
apt install apt-transport-https ca-certificates curl gnupg-agent software-properties-common

curl -fsSL https://download.docker.com/linux/ubuntu/gpg | sudo apt key add -

add-apt-repository "deb [arch=amd64] https://download.docker.com/linux/ubuntu $(lsb_release -cs) stable"
Update the packages with the new repository:
apt update
Now let's install Docker itself.
apt-get install docker-ce docker-ce-cli containerd.io
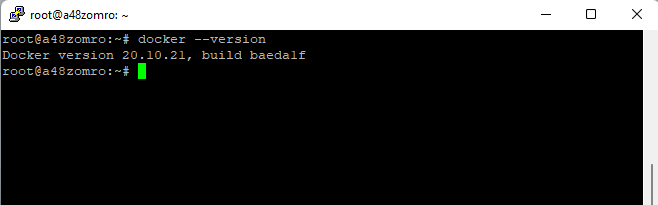
Let's check the version:
docker --version
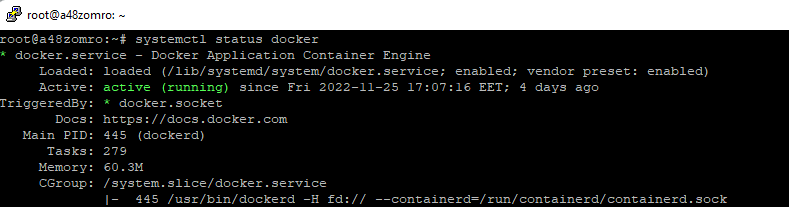
Let's check the status:
systemctl status docker
If it does not start, then run:
systemctl start docker
And add to autorun.
systemctl enable docker

Install Docker Compose
For this project, version 1.25 will be enough for us.curl -L "https://github.com/docker/compose/releases/download/1.25.5/docker-compose-$(uname -s)-$(uname -m)" -o /usr/local/bin /docker-compose
Set permissions to launch.
chmod +x /usr/local/bin/docker-compose
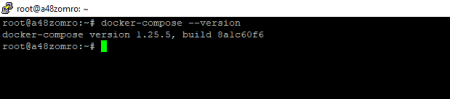
Check how Docker-Compose was installed:
docker-compose --version
Add a Linux user to the docker group:
usermod -aG docker $USER
Let's create a *.yaml file for Docker-Compose.
To navigate in the future in what we have installed, let's create a separate folder for this project in the /home directory and go to it.
mkdir /home/filebrowser && cd /home/filebrowser
You can also use a different directory to host this and other projects.
Let's use the repository to create the docker-compose.yaml file at https://hub.docker.com/r/filebrowser/filebrowser
Create a docker-compose.yaml or docker-compose.yml file,
vim docker-compose.yaml
And add the following code to it:
version: '3.3'
services:
    filebrowser:
        container_name: filebrowser
        volumes:
        - /:/srv
        - /root/filebrowser/datbase/filebrowser.db:/database/filebrowser.db
        environment:
        - PUID=0
        - PGID=0
        ports:
        - 9090:80
        restart: always
        image: filebrowser/filebrowser:s6
Where:
container_name: name of your container;
In the volumes block, we specify the paths along which the database will be saved and the folder with the files itself. In this example, / (root) is specified, which allows access to all files on the server.
ports: 9090 - the port that will be used to connect to the manager panel.
Also, before starting docker-compose, we will create a file for the filebrowser.db database along the path indicated in volumes - /root/filebrowser/database/
If this is not done, we will see an error in the logs: filebrowser.db is a directory.
Run the script (for this you need to be in the directory where our file was created. In this case, it is /home/filebrowser/):
docker-compose up -d
We are waiting for the download of images, and deployment.
We check:
docker-compose ps
or
docker ps

It can also be done with one command without using docker compose.
docker run -v /:/srv -v /root/filebrowser/datbase/filebrowser.db:/database/filebrowser.db -e PUID=0 -e PGID=0 -p 9090:80 -d filebrowser/filebrowser:s6
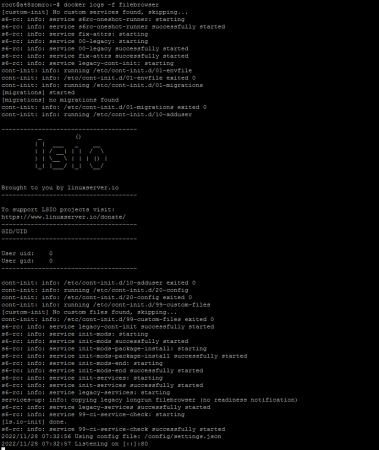
To view the logs, use the command
docker logs -f filebrowser
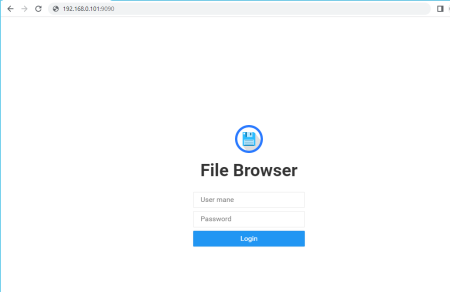
Now you can use the IP of your server and the port you specified, in this case it is 9090, to connect to the web interface.
For authorization use:
login: admin
password: admin
Happy use.