Before you get started, you should install Docker and Docker Compose. For your convenience, we've provided OS-specific instructions for installing Docker on our page for Centos 7 or Ubuntu 20.04.
Configuring Docker-Compose:
curl -L "https://github.com/docker/compose/releases/download/1.25.5/docker-compose-$(uname -s)-$(uname -m)" -o /usr/local/bin/docker-compose
Assign permissions to execute:
chmod +x /usr/local/bin/docker-compose
After installation, check the version of Docker-Compose:
docker-compose --version

Preparing the Docker Compose configuration: To deploy Filegator using Docker Compose, create a docker-compose.yaml file in the main directory of your project that will contain the parameters for the filegator container.
For ease of organization, let's create a special directory for this project:
mkdir /home/filegator && cd /home/filegator

If it's more convenient for you, you can choose another location to post this and your other projects.
Use the following repository to get the docker-compose.yaml file: https://hub.docker.com/r/filegator/filegator.
Create a file *.yaml for Docker-Compose:
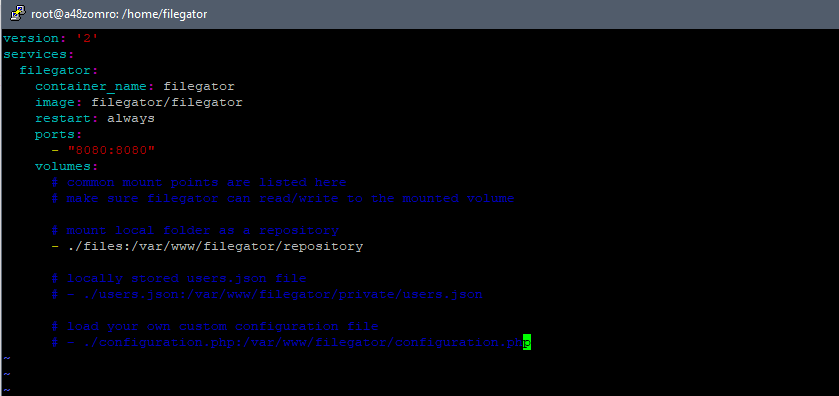
 version: '2' services: filegator: container_name: filegator image: filegator/filegator restart: always ports: - "8080:8080" volumes: # common mount points are listed here # make sure filegator can read/write to the mounted volume

      # mount local folder as a repository - ./files:/var/www/filegator/repository

      # locally stored users.json file # - ./users.json:/var/www/filegator/private/users.json

      # load your own custom configuration file # - ./configuration.php:/var/www/filegator/configuration.php

-
services:: This is the primary key that points to the services that will run using this configuration. -
filegator:: This is the name of the service. You can name your services whatever you want, but here it is named "filegator". -
container_name: filegator: This specifies the name of the Docker container that will be created. If you do not specify this name, Docker will automatically generate a unique name for the container. -
image: filegator/filegator: This is the Docker image that will be used to create the container. This image is located on Docker Hub under the name "filegator/filegator". -
restart: always: This directive tells Docker to restart the container whenever it stops. This can be useful if you want your service to be available at all times. -
ports:: These are the ports that will be forwarded from the container to the host machine."8080:8080": The host's port 8080 will be forwarded to port 8080 in the container.
-
volumes:: Describes the volumes or folders that will be forwarded from the host system to the container../files:/var/www/filegator/repository: The local folder "files" (located next to the docker-compose file) will be thrown into the container as/var/www/filegator/repository../users.json:/var/www/filegator/private/users.json: This line is commented out, but if uncommented, the local fileusers.jsonwill be available in the container as/var/www/filegator/private/users.json../configuration.php:/var/www/filegator/configuration.php: This is also commented out, but if activated will throwconfiguration.phpinto the container.
Starting and installing Filegator
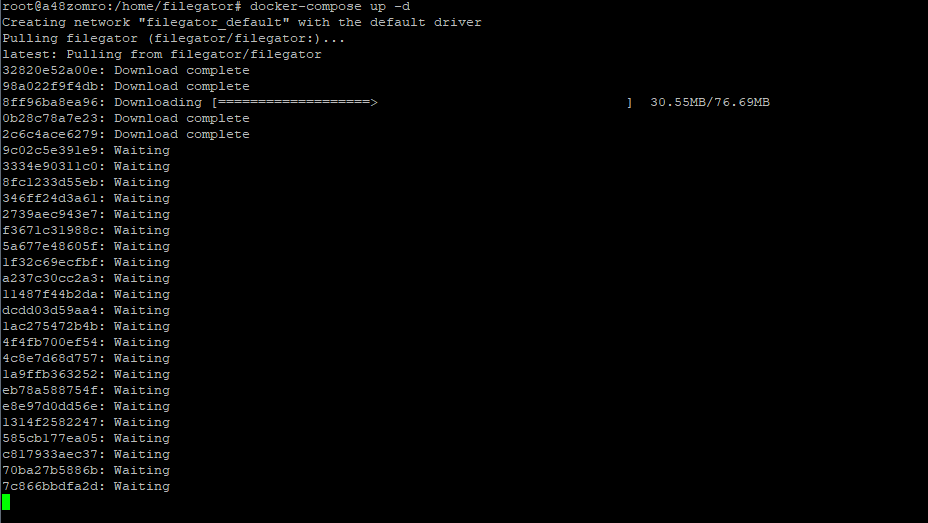
Now that we have the file docker-compose.yaml, and we can start the Filegator container using the command:
docker-compose up -d

This command initiates the Filegator container and runs in the background thanks to the -d parameter. Using instructions from the docker-compose.yaml file, Docker Compose automates the process of loading and initializing the Filegator container.

To verify that the Filegator container is active, apply the following command:
docker ps | grep filegator

Closure
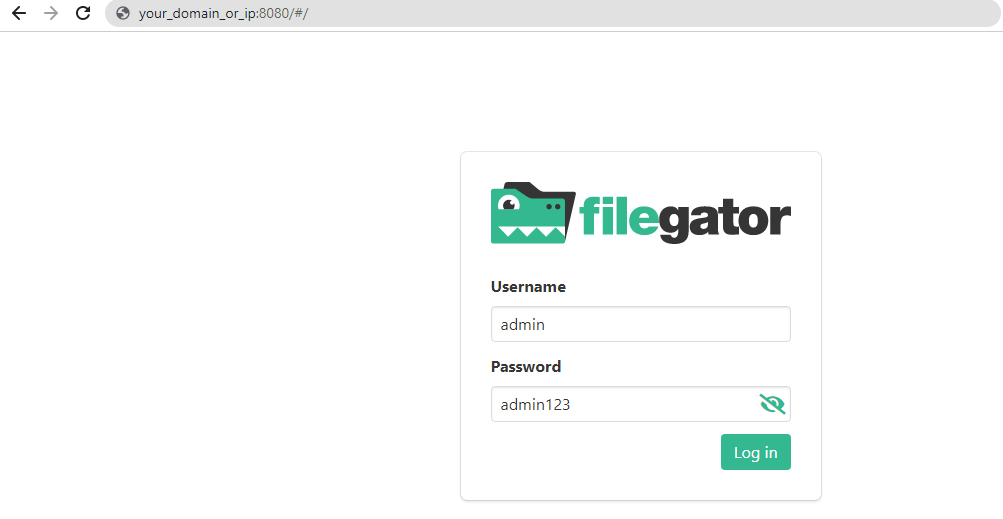
At this point, Filegator has been successfully integrated and configured in Docker. To get to the Filegator workspace, open a browser and go to http://your_domain_or_ip/filegator.
Login and password: admin:admin123

If you received an error:
Folder not writable: /repository/
Give permissions to the folder:
chmod -R 777 ./files

