
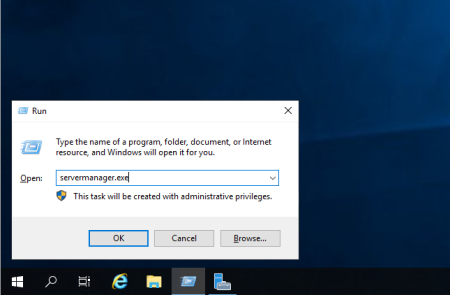
To start the installation, launch the Server Manager. This can be done using the servermanager.exe command in the Run window.
Press the key combination Win + R and in the Run window that appears, write servermanager.exe and click OK.
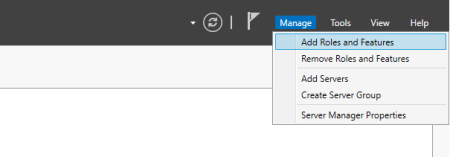
Now select Manage from the menu and click Add Roles and Features.
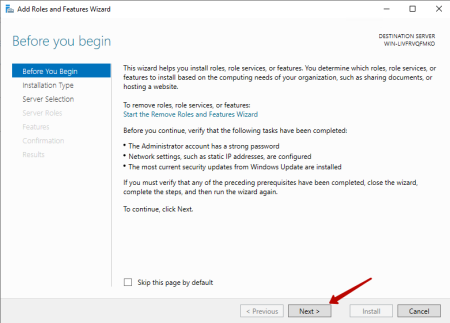
Next, after launching the Add Roles and Features Wizard, click Next.
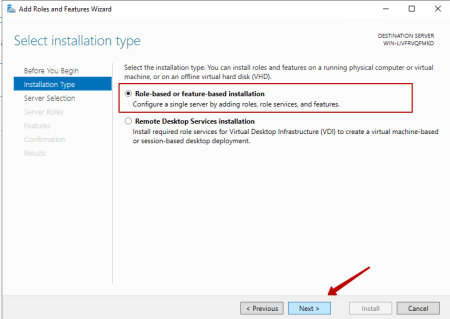
Select / leave on Role-based or features-based installation and click Next.
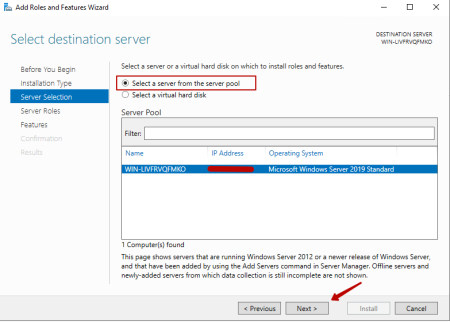
Check the box, if not, Select a server from the server pool and in the Server pool window, select the desired server, and click Next.
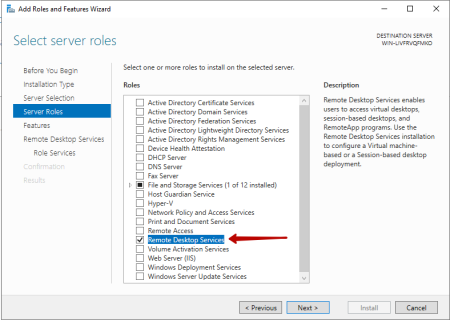
In the Server Roles item, check the Remote Desktop Services checkbox and click Next.
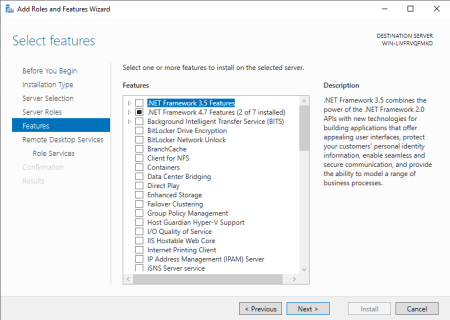
In the Features item, do not mark anything, and click Next and Next again.
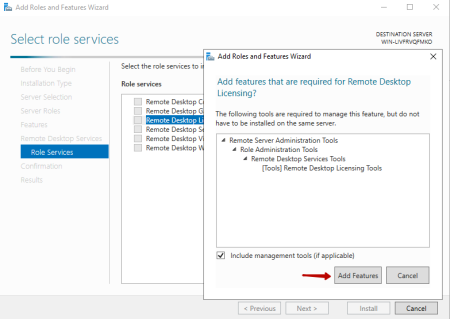
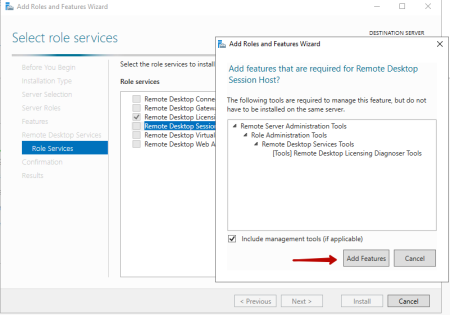
In the Role Services section, select the role services that we want to install. Remote Desktop Licensing and in the additional window click Add Features.
We also mark Remote Desktop Session Host, click Add Features and then click Next.
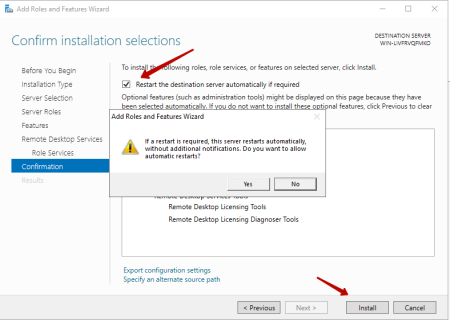
Check the box, Restart the destination server automatically if required if you need to restart immediately after installing add-ons. And click Install.
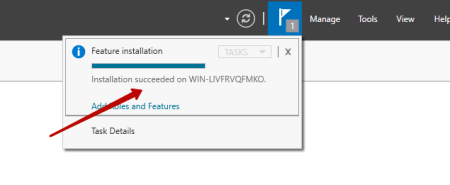
After restarting the server, we can observe a message about the successful installation.
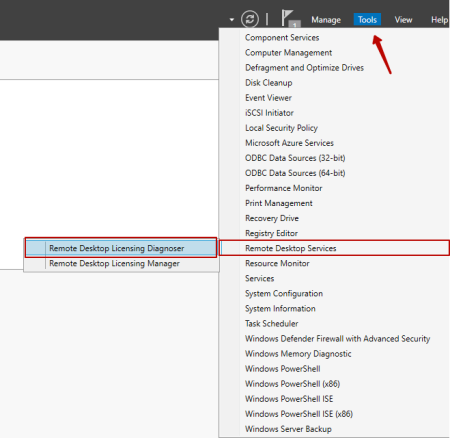
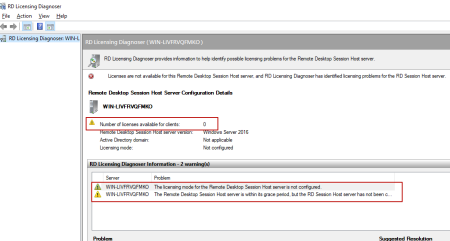
To check the licenses, run the Remote Desktop Licensing Diagnoser. To do this, select Tools => Remote Desktop => Remote Desktop Licensing Diagnoser.
As you can see, there are no licenses installed at the moment.
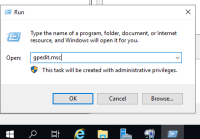
Let's install them through group policies. Press the key combination Win + R and in the "Run" window that appears, write gpedit.msc
and press OK.
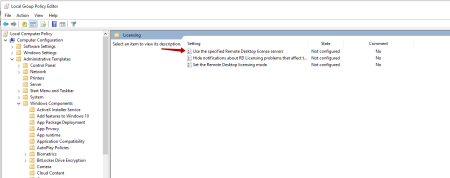
In the local group policy editor, go along the path: Computer Configuration => Administrative Templates => Windows Components => Remote Desktop Services => Remote Desktop Session Host => Licensing
We need to change Use the specified Remote Desktop license servers
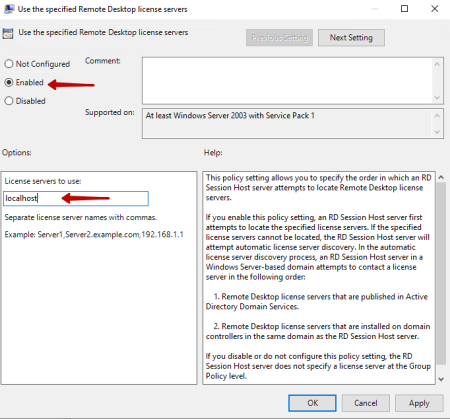
We translate the mode into Enabled. Below we prescribe the license server. In this example, this is localhost. You can also specify IP 127.0.0.1, or hostname.
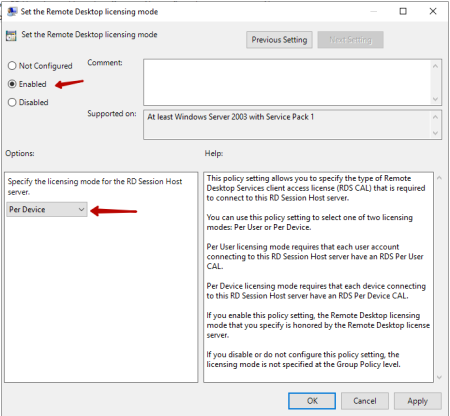
Now we change Set the Remote licensing mode. We translate the mode into Enabled. Remote Desktop Licensing Mode, select Per Device.
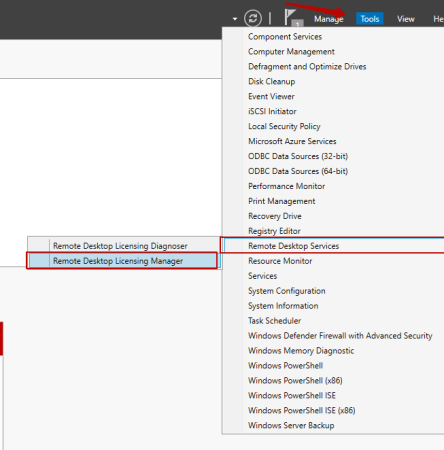
Now you need to enable the license server. In order to do this, go to Tools => Terminal Services => Remote Desktop Licensing Manager.
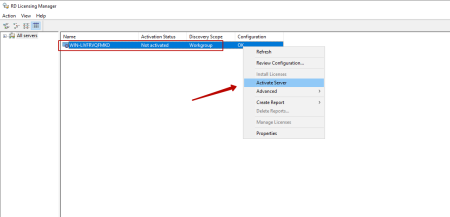
As you can see, the server status is Not Activated. To activate, right-click and select Activate Server.
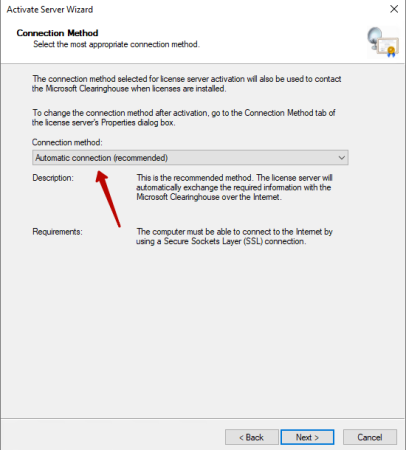
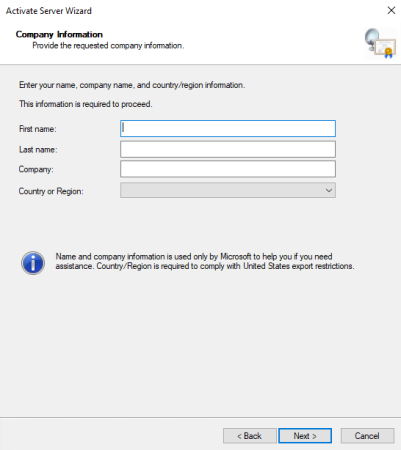
In the activation wizard, click Next, leave the Connection method as Automatic connection. Fill in the required fields about the organization and click Next.
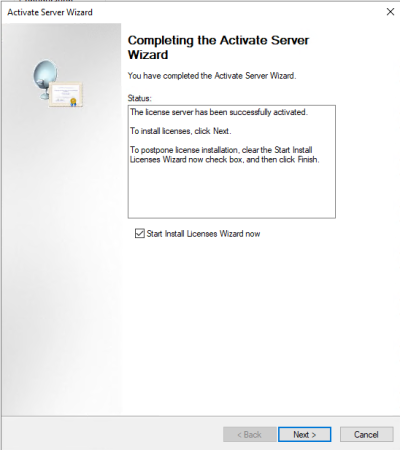
In the next window, it is not necessary to enter data, click Next. And we start the installation of licenses.
On the start page of the Installation Wizard, click Next.
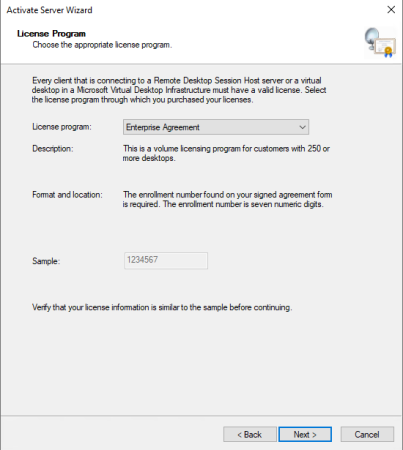
And in the new window, select the Enterprise Agreement license. And click Next.
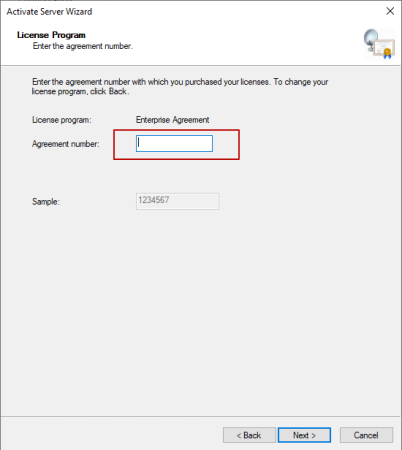
Enter the agreement number and click Next.
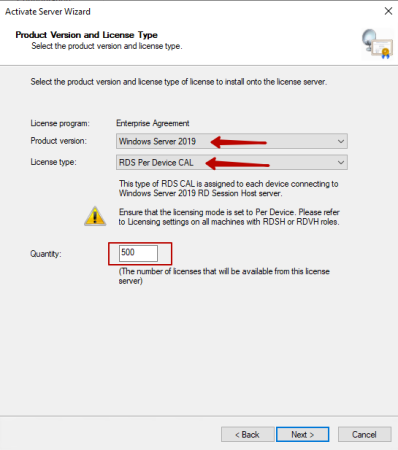
Specify the version, in our case Windows Server 2019, the type of license RDS Per Device CAL. And set the number of licenses, on example 500, and click Next.
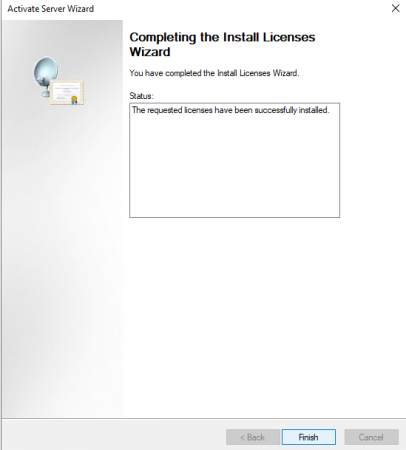
And then we wait for the installation to finish.
Now, to check the licenses, let's run the Remote Desktop Licensing Diagnoser. To do this, select Tools => Remote Desktop => Remote Desktop Licensing Diagnoser.
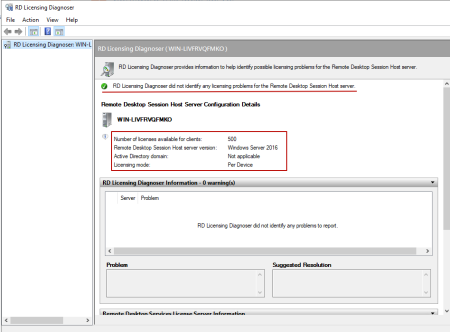
As you can see everything is set.
After that, you can create the required number of users, in accordance with the performance of your server.