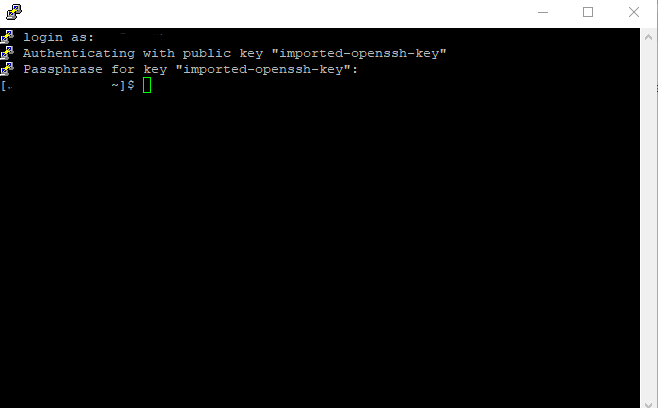
Let's see how to create an SSH public and private key and use them to connect via Putty.
1. In the virtual hosting control panel (CPanel), we need to go to the "Security" section in the "SSH Access" item.
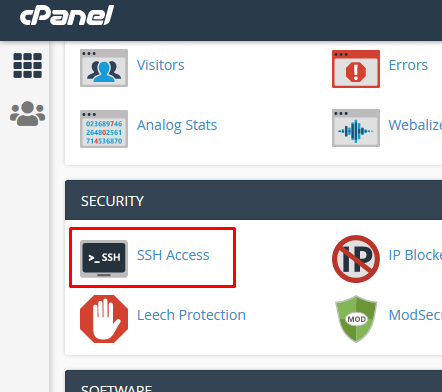
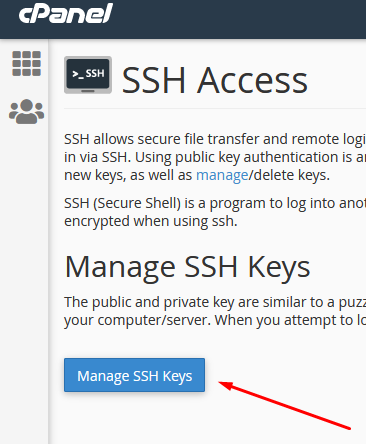
2. After going to the "SSH Access" item in the "Management SSH Keys" section, click on the "Management SSH Keys" button.
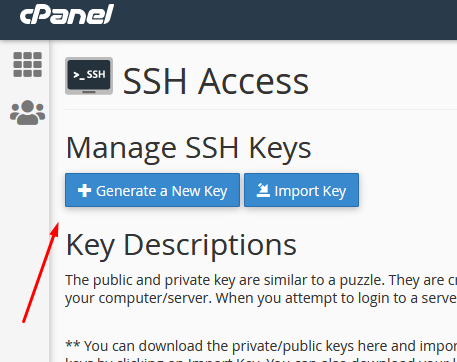
After clicking, we get to the "Management SSH Keys" section where we can create a new key or import the previously created one.
3. Let's see how to create a new key. To do this, click "Generate a New key"
In the new window we have the option to change the key parameters such as:
1) name - "Key Name";
2) password - "Key Password";
3) type - "Key Type";
4) Size - "Key Size".
In the field called Key Name, you can leave the standard, that is, "id_rsa". The key password must match some parameters:
1) Key password cannot be missing;
2) Password must be at least 5 character(s) long.
3) Password strength must be at least 65.
4. You can choose the password yourself or use a password generator. To do this, click on "Password Generator", then on "Generate Password". The generated password will need to be remembered or saved in a safe place, as it will be used in the future. After saving the password (in this case, our password is GQHKnD1i{z}- ), check the box next to the item "I have copied this password in a safe place.", Then click on "Use Password".
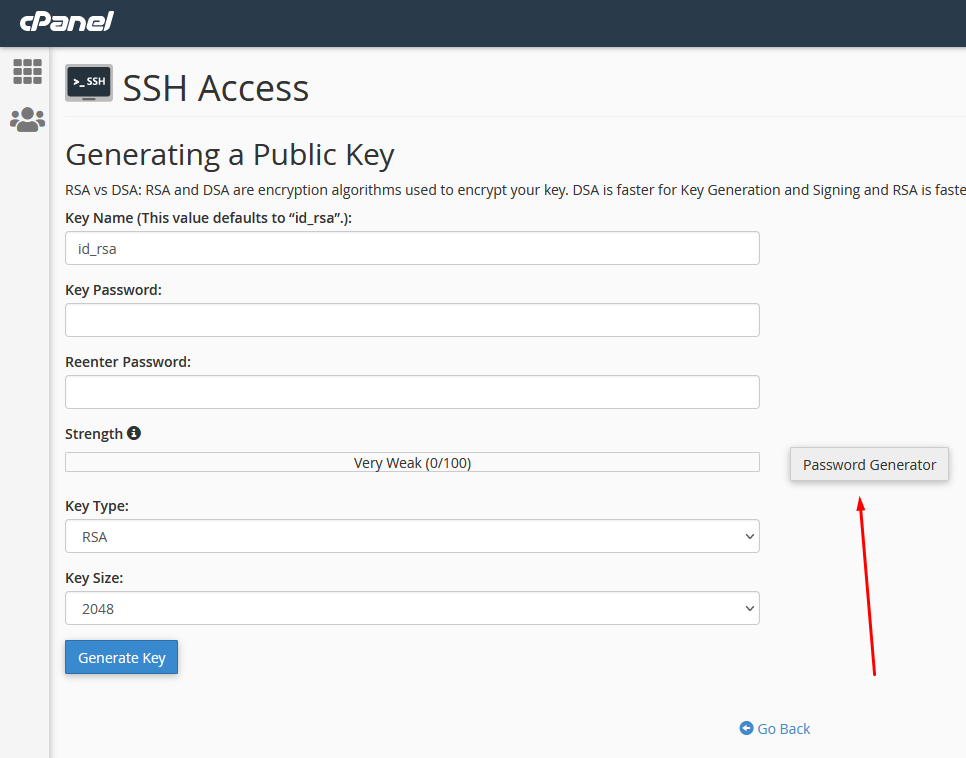
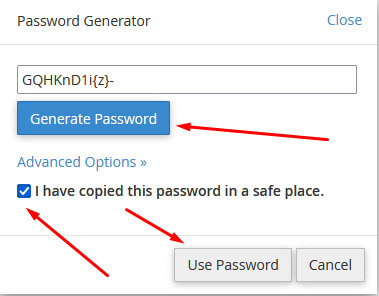
5. Check if the password is as strong as you need. The value in the "Strength" scale must be more than 65 values out of 100.
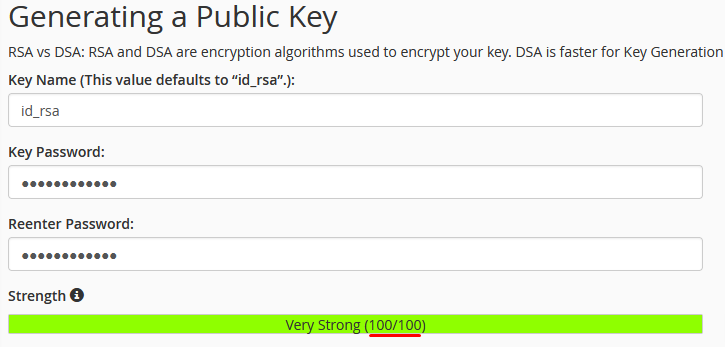
If the value is greater than 65 then go to the next item. Otherwise, you need to come up with a stronger password.
In the "Key type" item, you can leave the default value, that is, "RSA".
In "Key size" - the value is 2048.
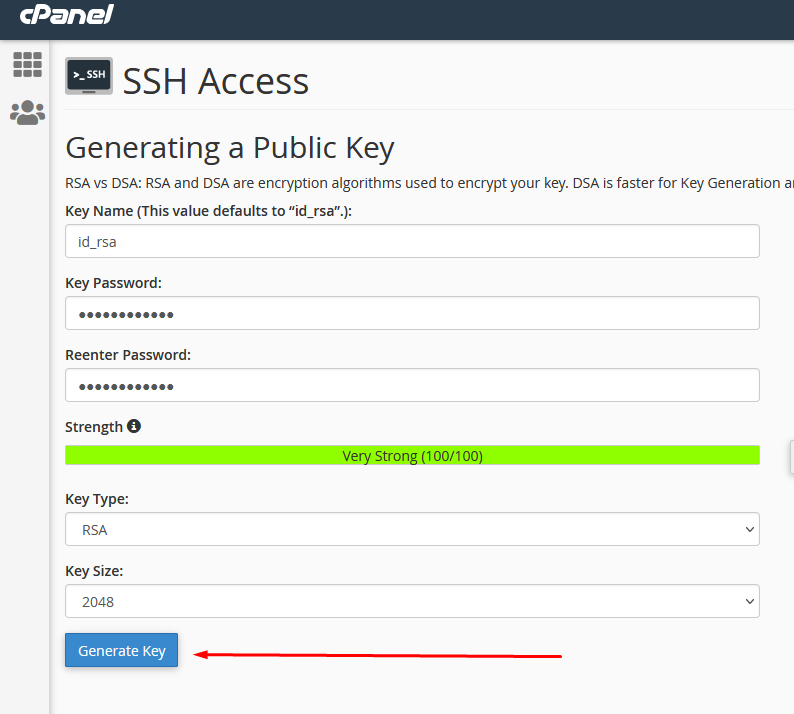
6. After all values are set, click "Create Key".
On the new page there will be a notification that the creation of the key is completed. Then press "Back".
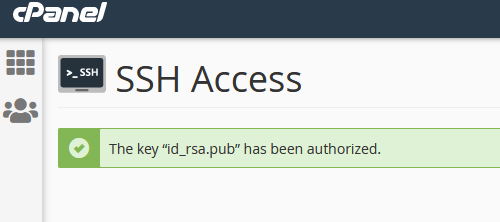
7. After creating the key, we will have two new keys: Public and private keys. In the "Public Keys" section, in the "Authorization Status" field, we will first have the status "not authorized". To authorize our key, click "Manage", then "Authorize". After authorization, you can see a notification that the key authorization was successful.

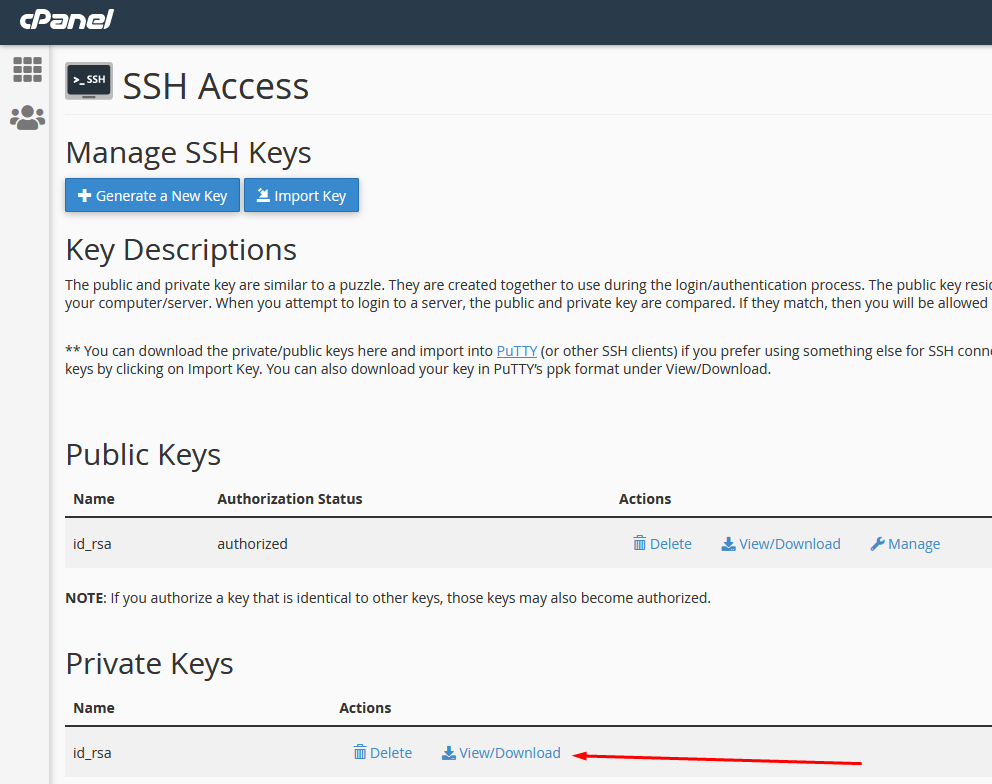
We return back. In the "Authorization status" field - the status is "authorized"

8. Next, we need to download the private key. To do this, in the "Private Keys" section, click on "View/Download".
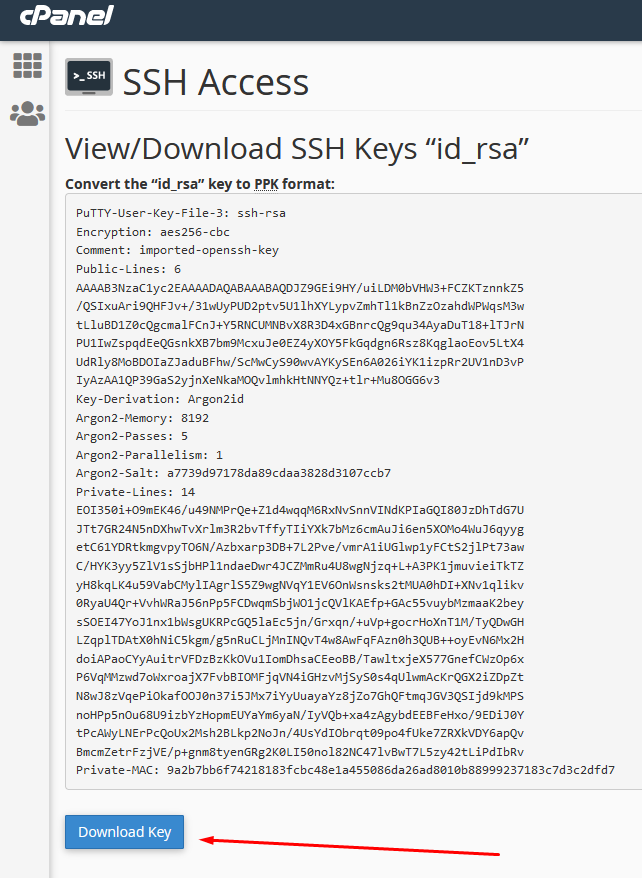
9. To download our key, we need to convert our key to PPK format.
To do this, we need to write our password from the key that we created earlier in the "Convert key "id_rsa" to PPK format" field. Then click "Convert".

10. Now you can download your key in PPK format to your PC.
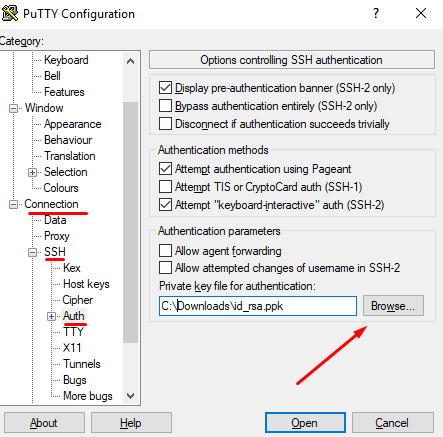
11. Next, in order to connect to the virtual hosting using SSH keys, we need to go to the "Connection" - "SSH" - "Auth" section in Putty, in the "Private key file for authentication" section, enter the path to your file.
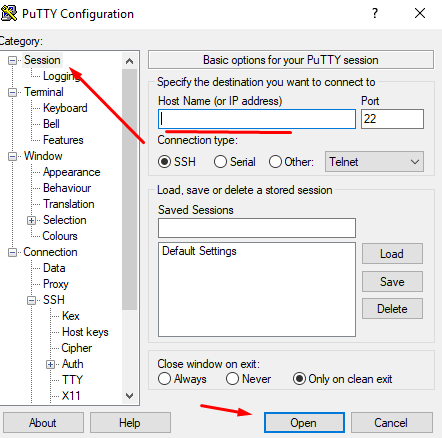
12. In the "Session" section, in the "Host Name(or IP address)" field, write the IP address of the virtual hosting. You can find the IP address in your personal account in the section "Products/Services" - "Virtual hosting" - select your service - "Instructions". You can find the IP address of the virtual hosting in the Hosting information in the "Server IP address" section.
This IP address is used to connect to the shared hosting.
13. In the new window you need to register "Username". You can find this information in the service manual - "Products/Services" - "Virtual hosting" - select your service - "Instruction". In a new window in the section "Control Panel" - "User". We remember and write the name of the user in the console.

14. After entering the user, we need to enter the password of the key we previously created.
In this case, the password is "GQHKnD1i{z}-" . We write it. Also in security measures, password characters will not be displayed. After entering the password, press "Enter"

After correctly entering the password, we get to the virtual hosting via SSH.
