Docker and Docker Compose are powerful tools for deploying and managing containers. In this article, we'll look at how to deploy any version of PHP using Docker-Compose, which is especially useful for developers and system administrators. We'll show you a step-by-step process for deploying PHP using Docker and Docker Compose.
- Installing Docker and Docker Compose
.
First of all, you need to install Docker and Docker Compose on your system. You can install Docker by following the instructions in the How to install PostgreSQL and pgAdmin in Docker and similar articles on our website.
- Create project
.
Create a new folder for your project and navigate to it:
mkdir my-php-project cd my-php-project
- Create Dockerfile
In the project folder, create a file named Dockerfile. This file contains instructions for building the Docker image with the correct version of PHP.
vim Dockerfile
.
Inside the file, replace 7.4 with the correct version of PHP:
 FROM php:7.4-apache

RUN docker-php-ext-install pdo_mysql

This code tells Docker to use the official PHP image version 7.4 with Apache. It then installs the pdo_mysql extension to work with MySQL.
- Create file docker-compose.yml
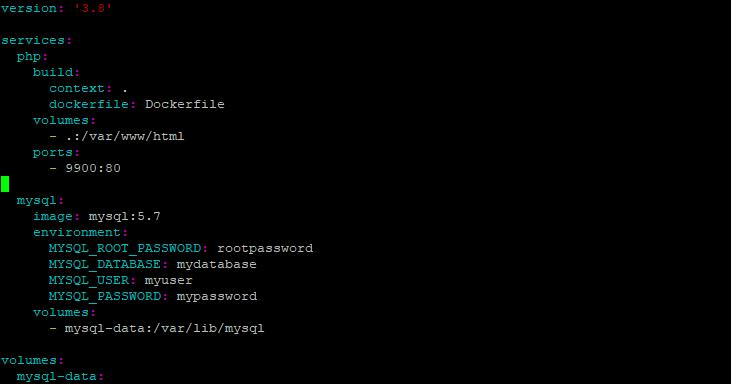
Create a file named docker-compose.yml in the project folder. This file contains the configuration for running PHP and MySQL containers. Inside the file, insert the following code:
 version: '3.8'

services:
  php:
    build:
      context: .
      dockerfile: Dockerfile
    volumes:
      - .:/var/www/html
    ports:
      - 9900:80

  mysql:
    image: mysql:5.7
    environment:
      MYSQL_ROOT_PASSWORD: rootpassword
      MYSQL_DATABASE: mydatabase
      MYSQL_USER: myuser
      MYSQL_PASSWORD: mypassword
    volumes:
      - mysql-data:/var/lib/mysql

volumes:
  mysql-data:
Two services are defined in this configuration: php and mysql. The php service uses the image built from the file Dockerfile, and the mysql service uses the official MySQL image version 5.7. This also specifies the environment and volume settings for saving MySQL data.

- Assembling and launching containers
.
In order to build and start containers, execute the following command in the terminal:
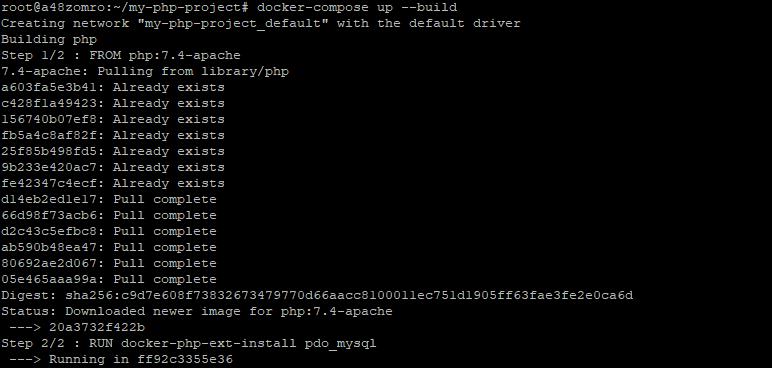
docker-compose up --build -d
.

This command will build a PHP image from your Dockerfile, download a MySQL image, and run both containers in the background. Once executed, the containers are up and running and available for use.
- Check containers
To verify that the containers are up and running successfully, run the following command:
docker-compose ps
.

You should see a list of running containers and their statuses. If everything is OK, you should see that both containers are running.
- Creating a PHP test file
Now that our containers are up and running, let's create a simple PHP file to test that our configuration works. In the project folder, create a file named index.php and insert the following code:
<?php phpinfo();

- Access the PHP file via browser
In order to access your PHP file through a browser you need to find out the IP address of your server. Use the following command:
ip a
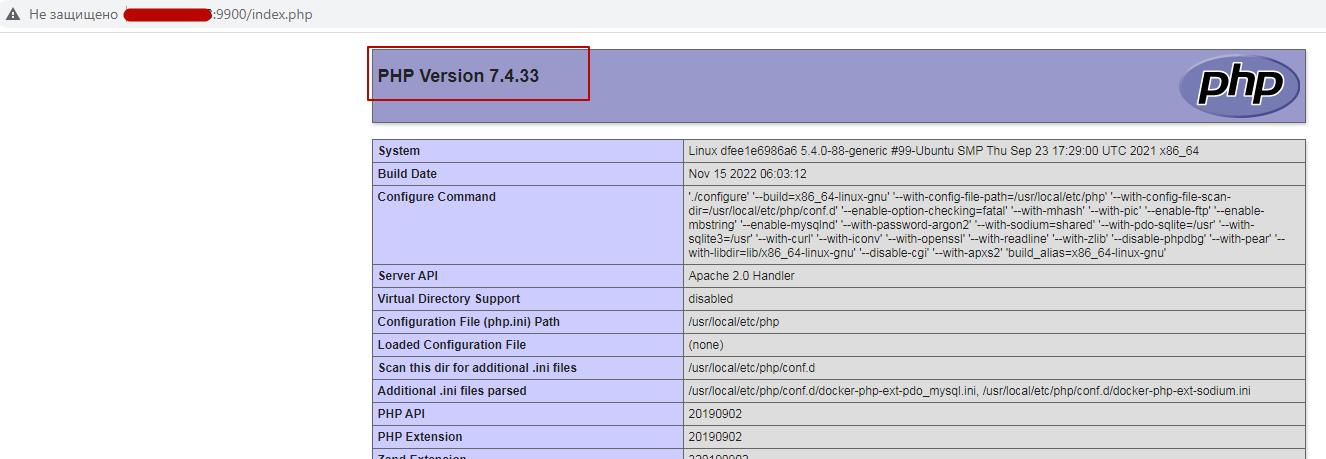
You will be presented with the IP address of your server. Enter this IP address into the browser address bar and port 9900 and you should see the version of PHP you have installed.
http://your_ip:9900/index.php
.

Closure
In this article we have seen how to deploy any version of PHP using Docker-Compose. You can now easily set up and use different versions of PHP for your projects which can greatly simplify the process of developing and managing environments. Follow these simple steps and you can successfully deploy PHP in Docker-Compose.
.

