
1. Adding the mono repository
To run the game server, we need the mono application installed. We import the public key. Assign the following command:
rpm --import "https://keyserver.ubuntu.com/pks/lookup?op=get&search=0x3FA7E0328081BFF6A14DA29AA6A19B38D3D831EF"
Then we will download and add the repository for installing mono. We write the following command in the console:
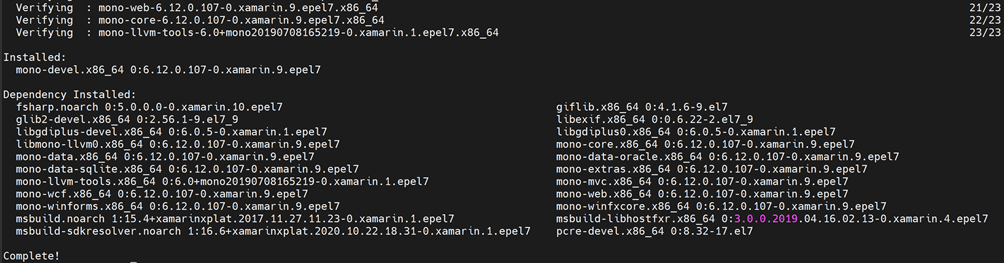
curl https://download.mono-project.com/repo/centos7-stable.repo | tee /etc/yum.repos.d/mono-centos7-stable.repo If the following result is observed, then this lets us know that the process of adding the repository has completed correctly. Screenshot example 1.

Screenshot 1 - Adding the mono repository
2. Mono installation
Once the repository has been added, we install mono. To do this, we write the installation command:
yum -y install mono-develAfter a successful installation, we can observe the following result in the screenshot:
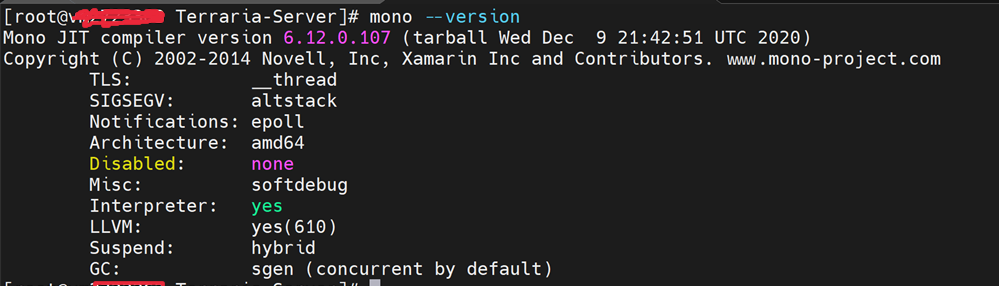
Screenshot 2 - Successful installation of mono
3. Installing and running the TShock game server
For convenience, all actions with the game will be performed in a separate directory. Create a directory to unpack the directory. We create under the name, for example, "Terraria-Server" and go to this directory. We write the following command in the console:
mkdir Terraria-Server
cd Terraria-Server
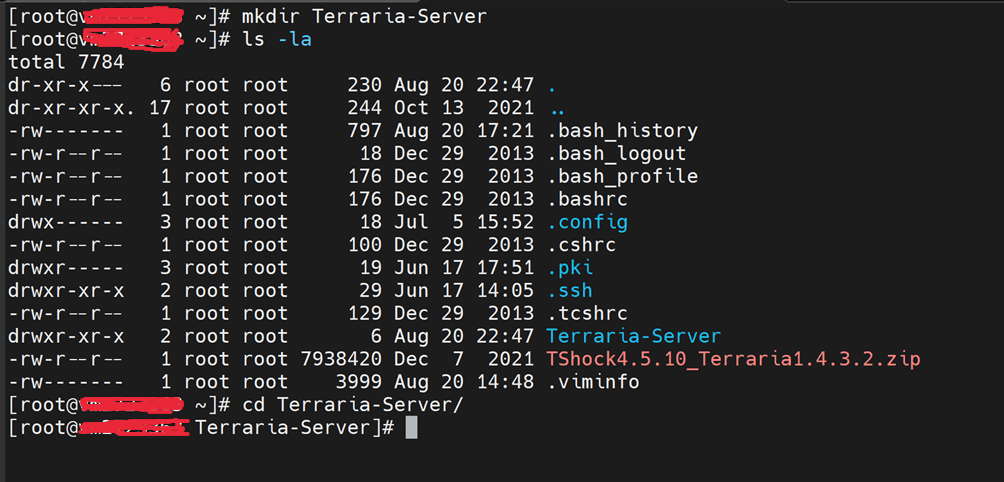
Screenshot 3 - creating a directory for the game server
Also, for the server to work, you will need to open ports in the firewall. According to the standard, port 7777 is used, so we create a new firewall rule. To do this, write the following commands:
iptables -I INPUT -p tcp -m tcp --dport 7777 -j ACCEPT
iptables -I OUTPUT -p tcp -m tcp --dport 7777 -j ACCEPT
iptables-save
Screenshot 4 - creating a directory for the game server
Since this utility, TShock, allows you to run the Terraria game server, you need to select the correct version of TShock.
To do this, follow the link to github https://github.com/Pryaxis/TShock/releases to select the version of the game server we need.
In this case, the launch will be made for Terraria version 1.4.3.2, so we write the version we need and press Enter. From the results, we have the release of TShock 4.5.10.
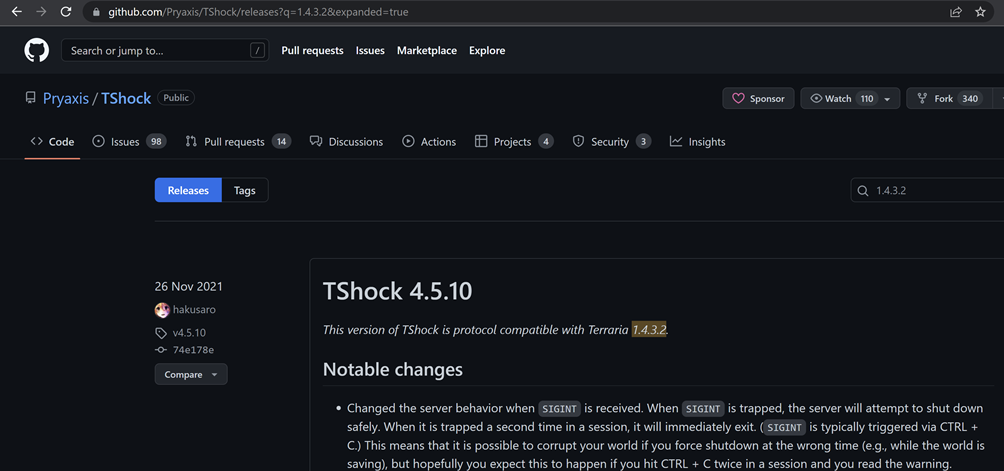
 Screenshot 5 - the result of searching for the desired version of TShock
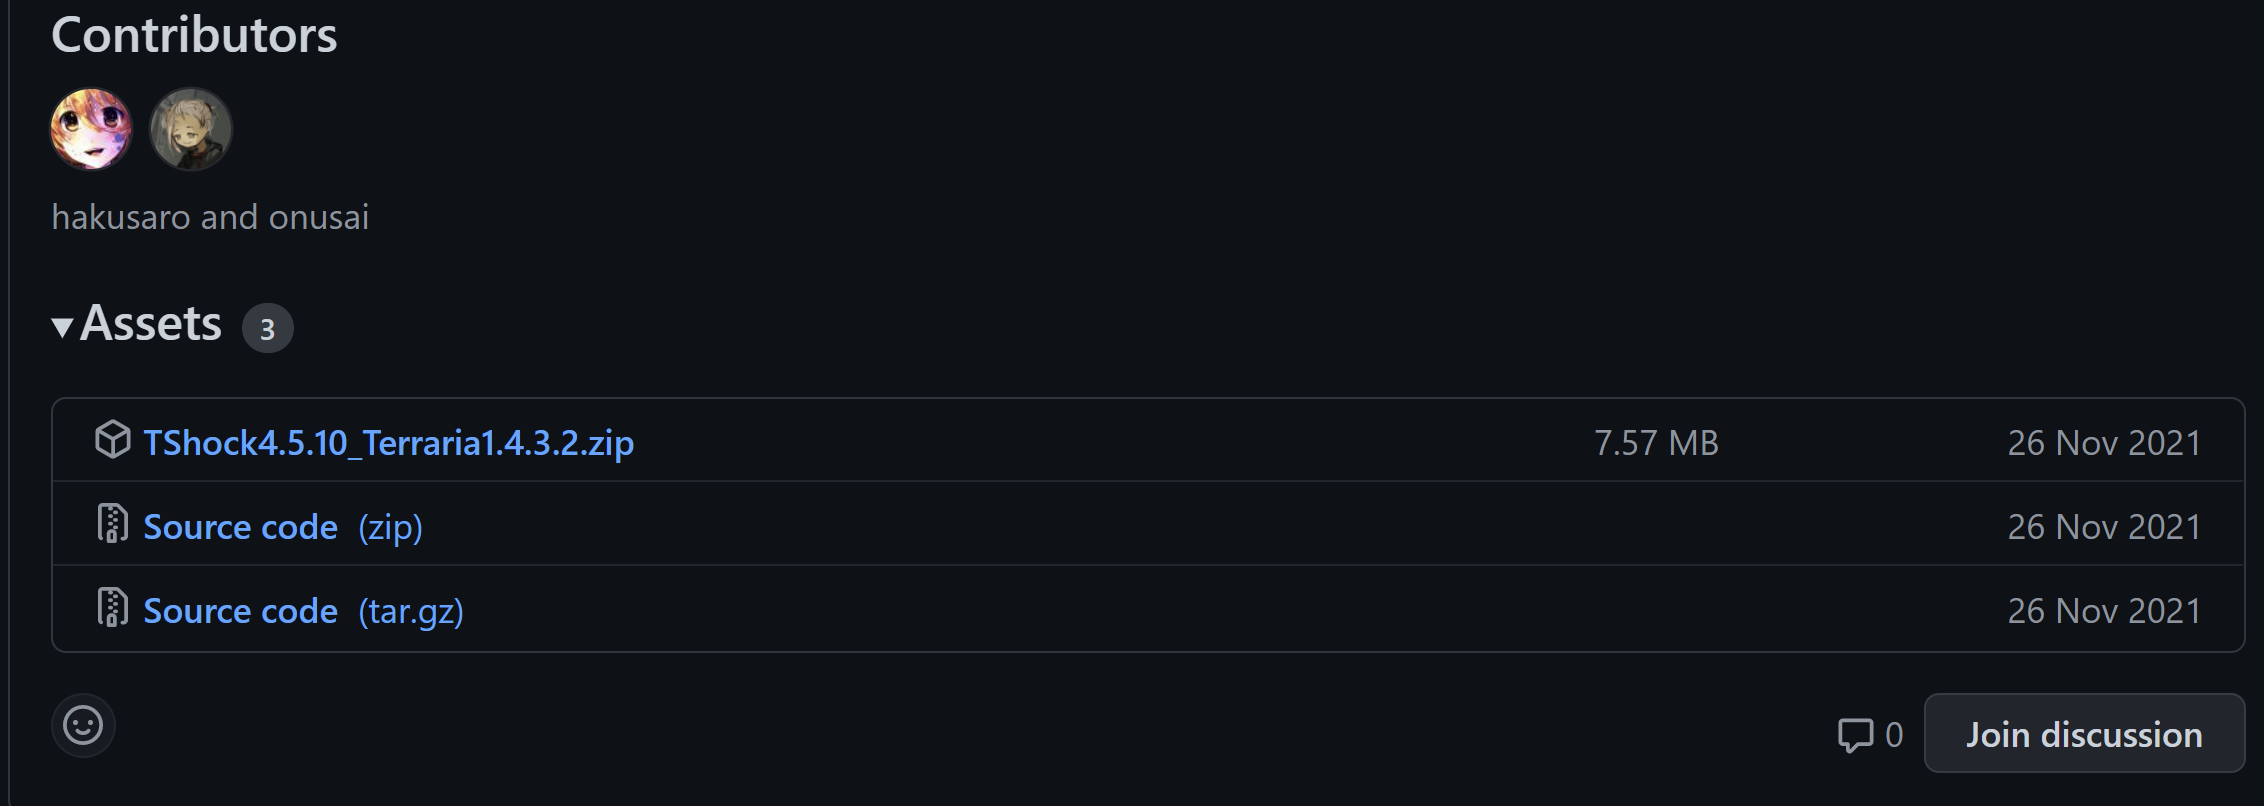
Next, in the "Assets" section, copy the link to the TShockX.X.X_TerrariaX.X.X.X.zip file. Next, download to your server using the command:
wget https://github.com/Pryaxis/TShock/releases/download/v4.5.10/TShock4.5.10_Terraria1.4.3.2.zip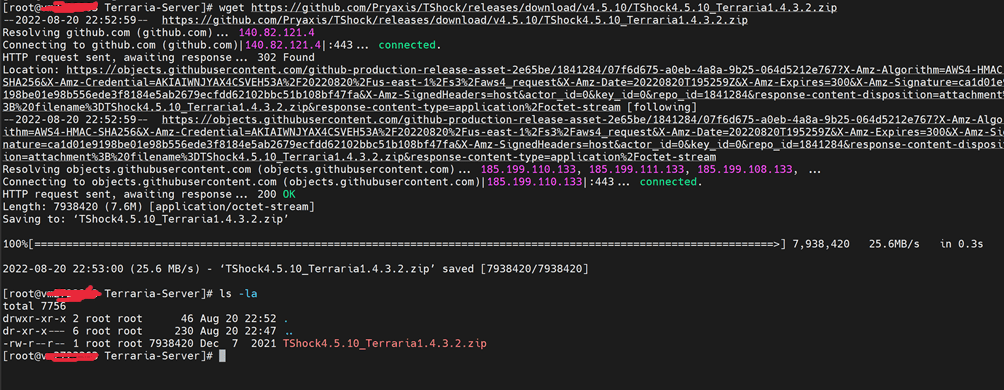
Screenshot 6 - downloading the archive from TShock to your server
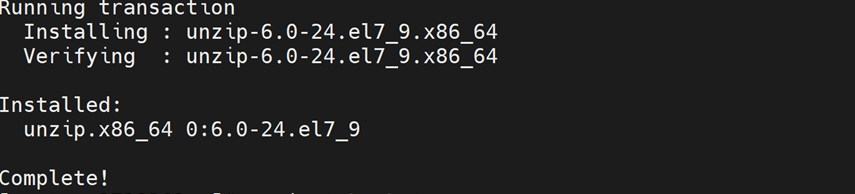
We unpack the archive. Install the unzip package and extract the archive. We write commands:
yum install unzip -y
unzip TShock4.5.10_Terraria1.4.3.2.zip
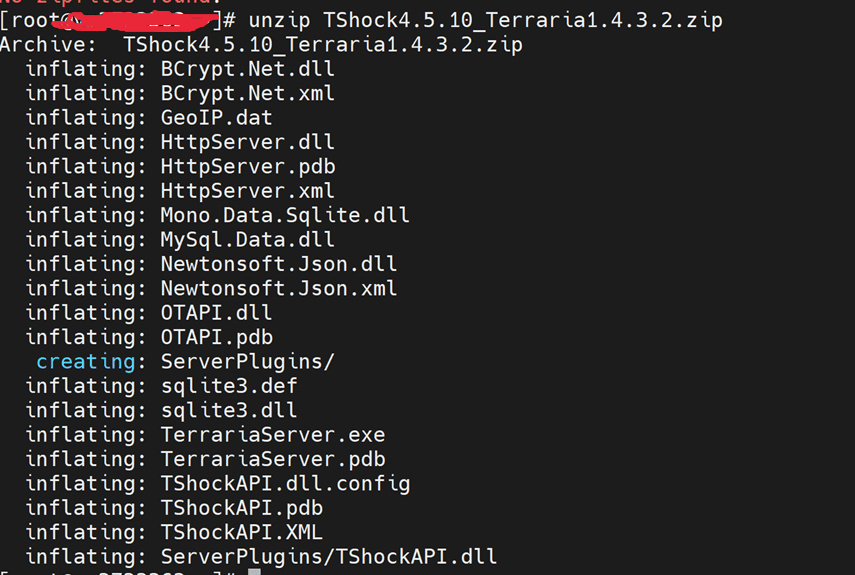
Screenshot 7 - unpacking the archive
After unpacking the archive with the server, we launch it. To make the server run in the background and not shut down, install the screen utility using the command:
yum install screen -yscreenmono TerrariaServer.exe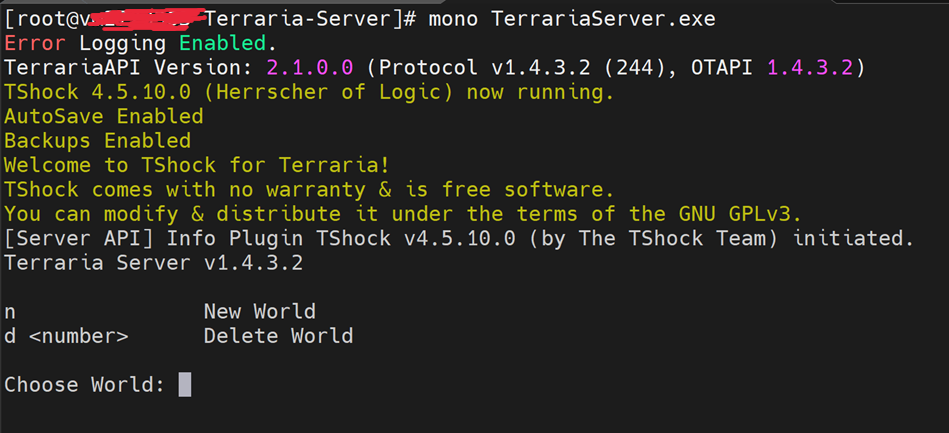
Screenshot 8 - Starting TShock Server
In this menu, you can create a new world or run your previously created world. In this case, we create a new world.
We make the basic setting of the world.
After creating a world, it will be available in the list of worlds.
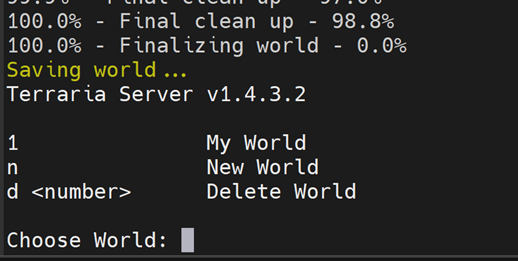
Screenshot 9 - List of worlds
We choose our world. After that, you can use all the items according to the standard. As soon as the server is started, there will be information that the server is started.
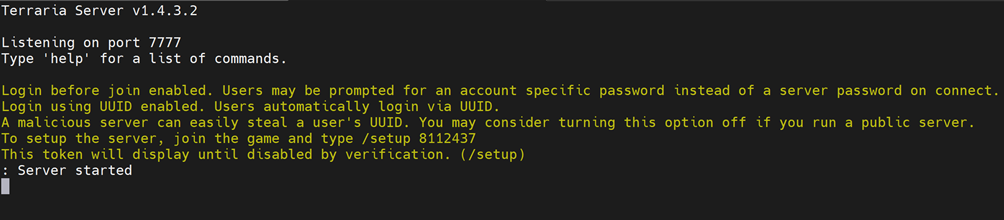
Screenshot 10 - Working server
If all actions are performed correctly, the server will be available for the game.
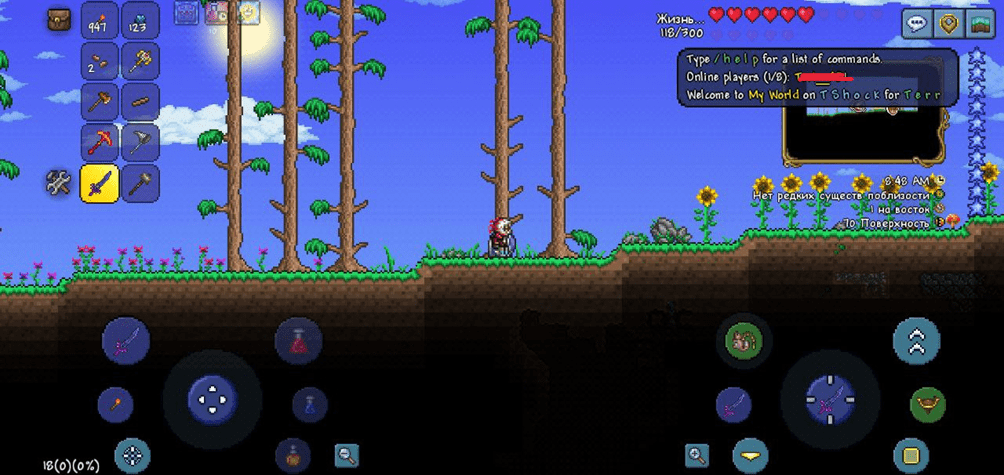
Screenshot 11 - Connecting to the server
To disconnect from our virtual server and the game server remains running, use the key combination Ctrl + A, and then press on D.
After that, you can safely disconnect from the server. To return to the console of the TShock game server, write the command screen -r
Where are all game worlds located?
All game worlds are located in the directory /root/.local/share/Terraria/Worlds
Where is the server configuration file located?
The configuration file "config.json" is located in the directory with the TShock game server in the tshock directory. In this case, the full path to /root/Terraria-Server/tshock